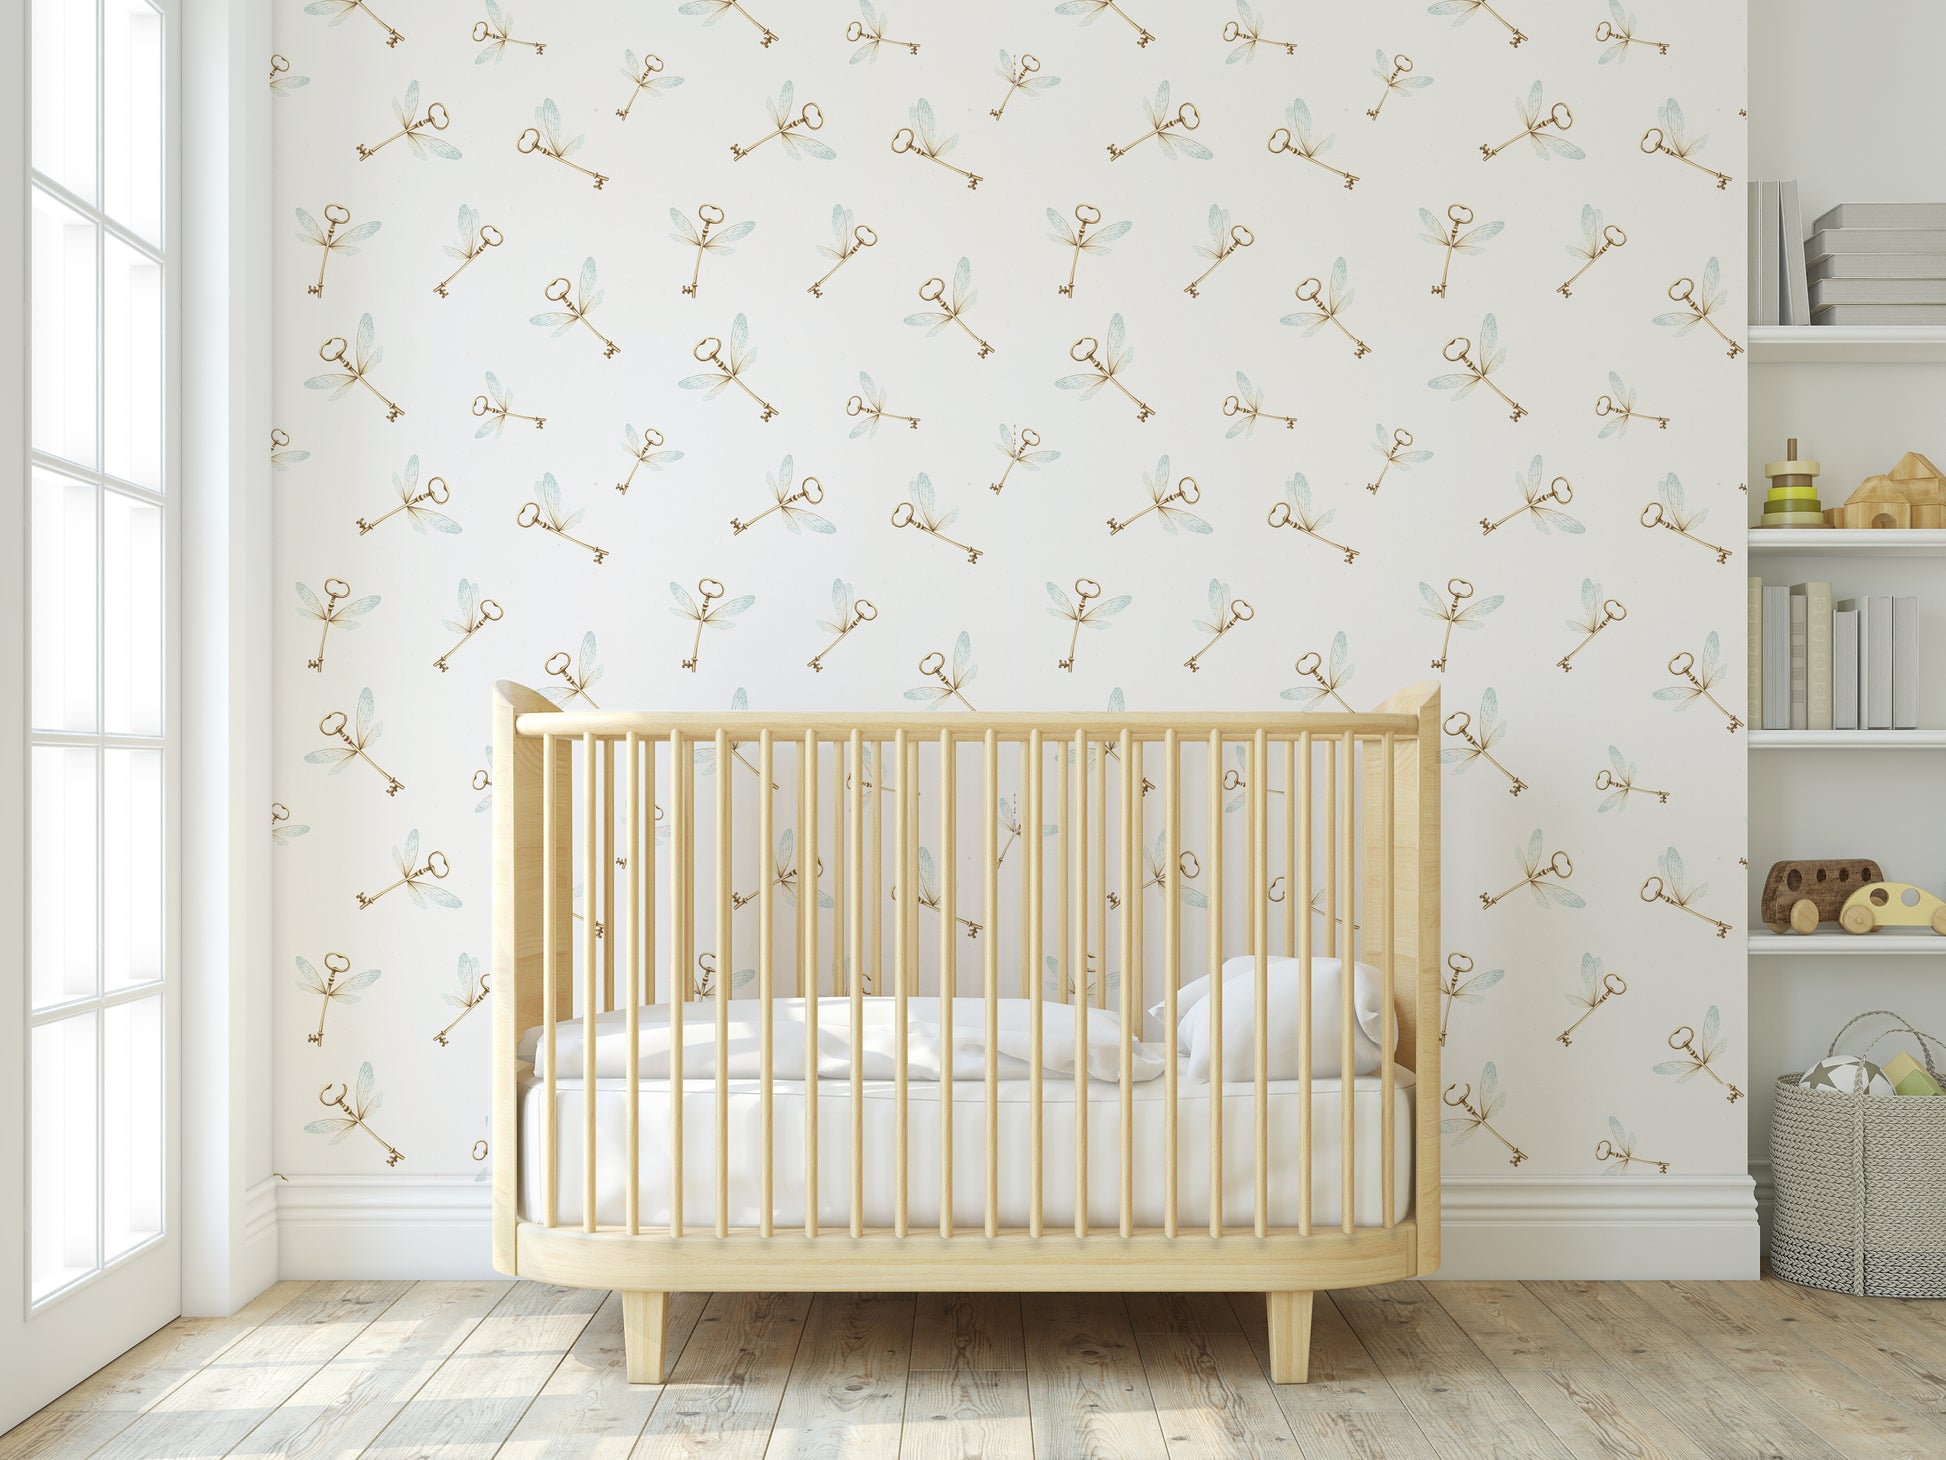
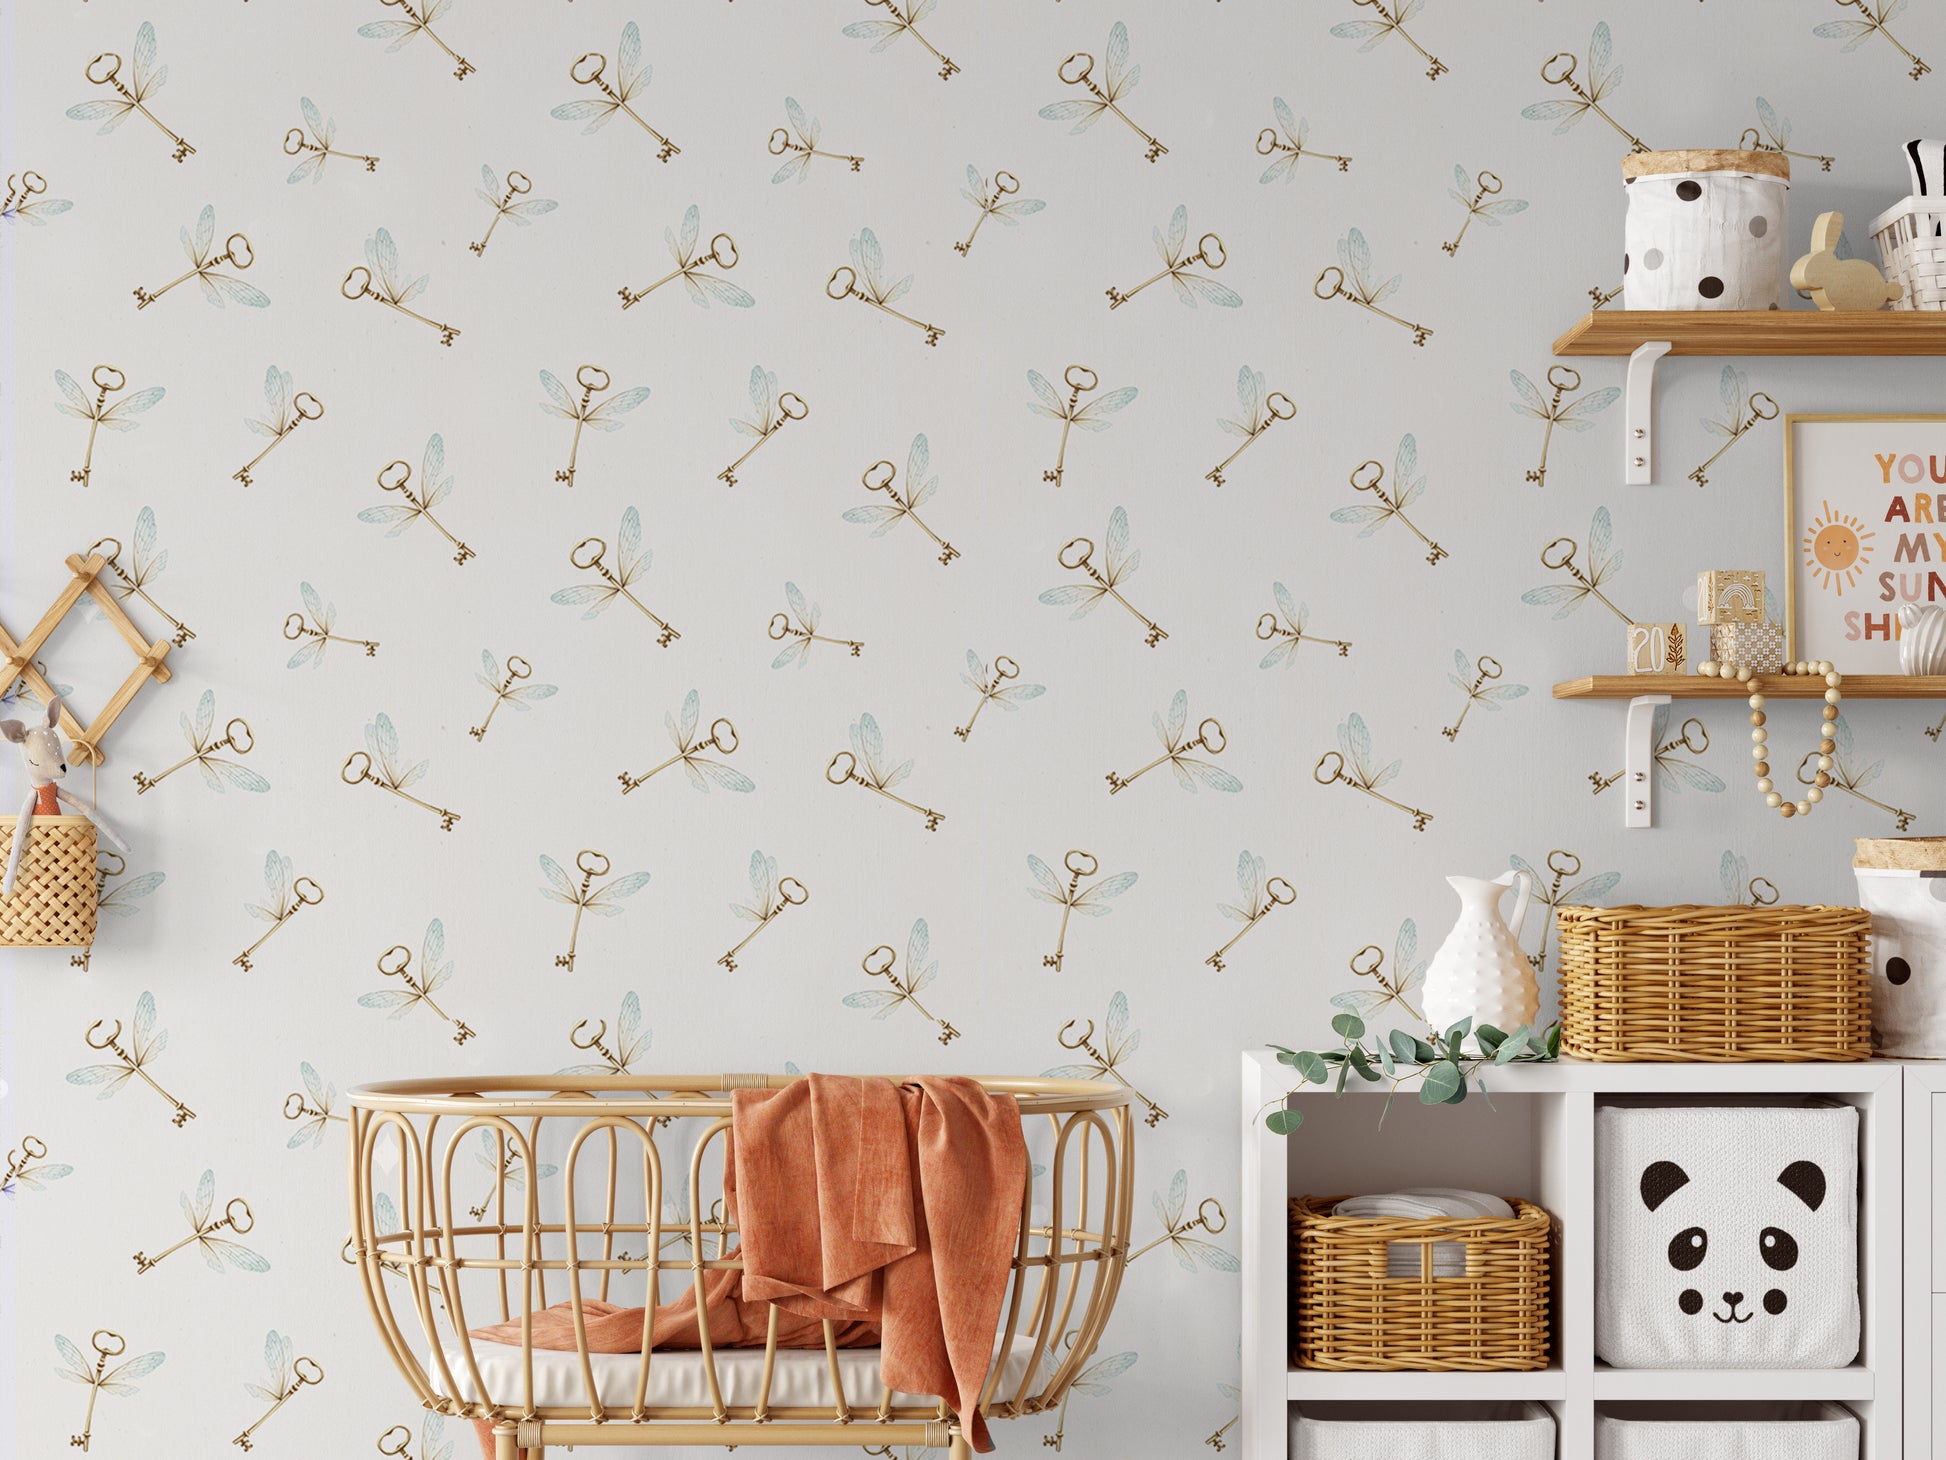
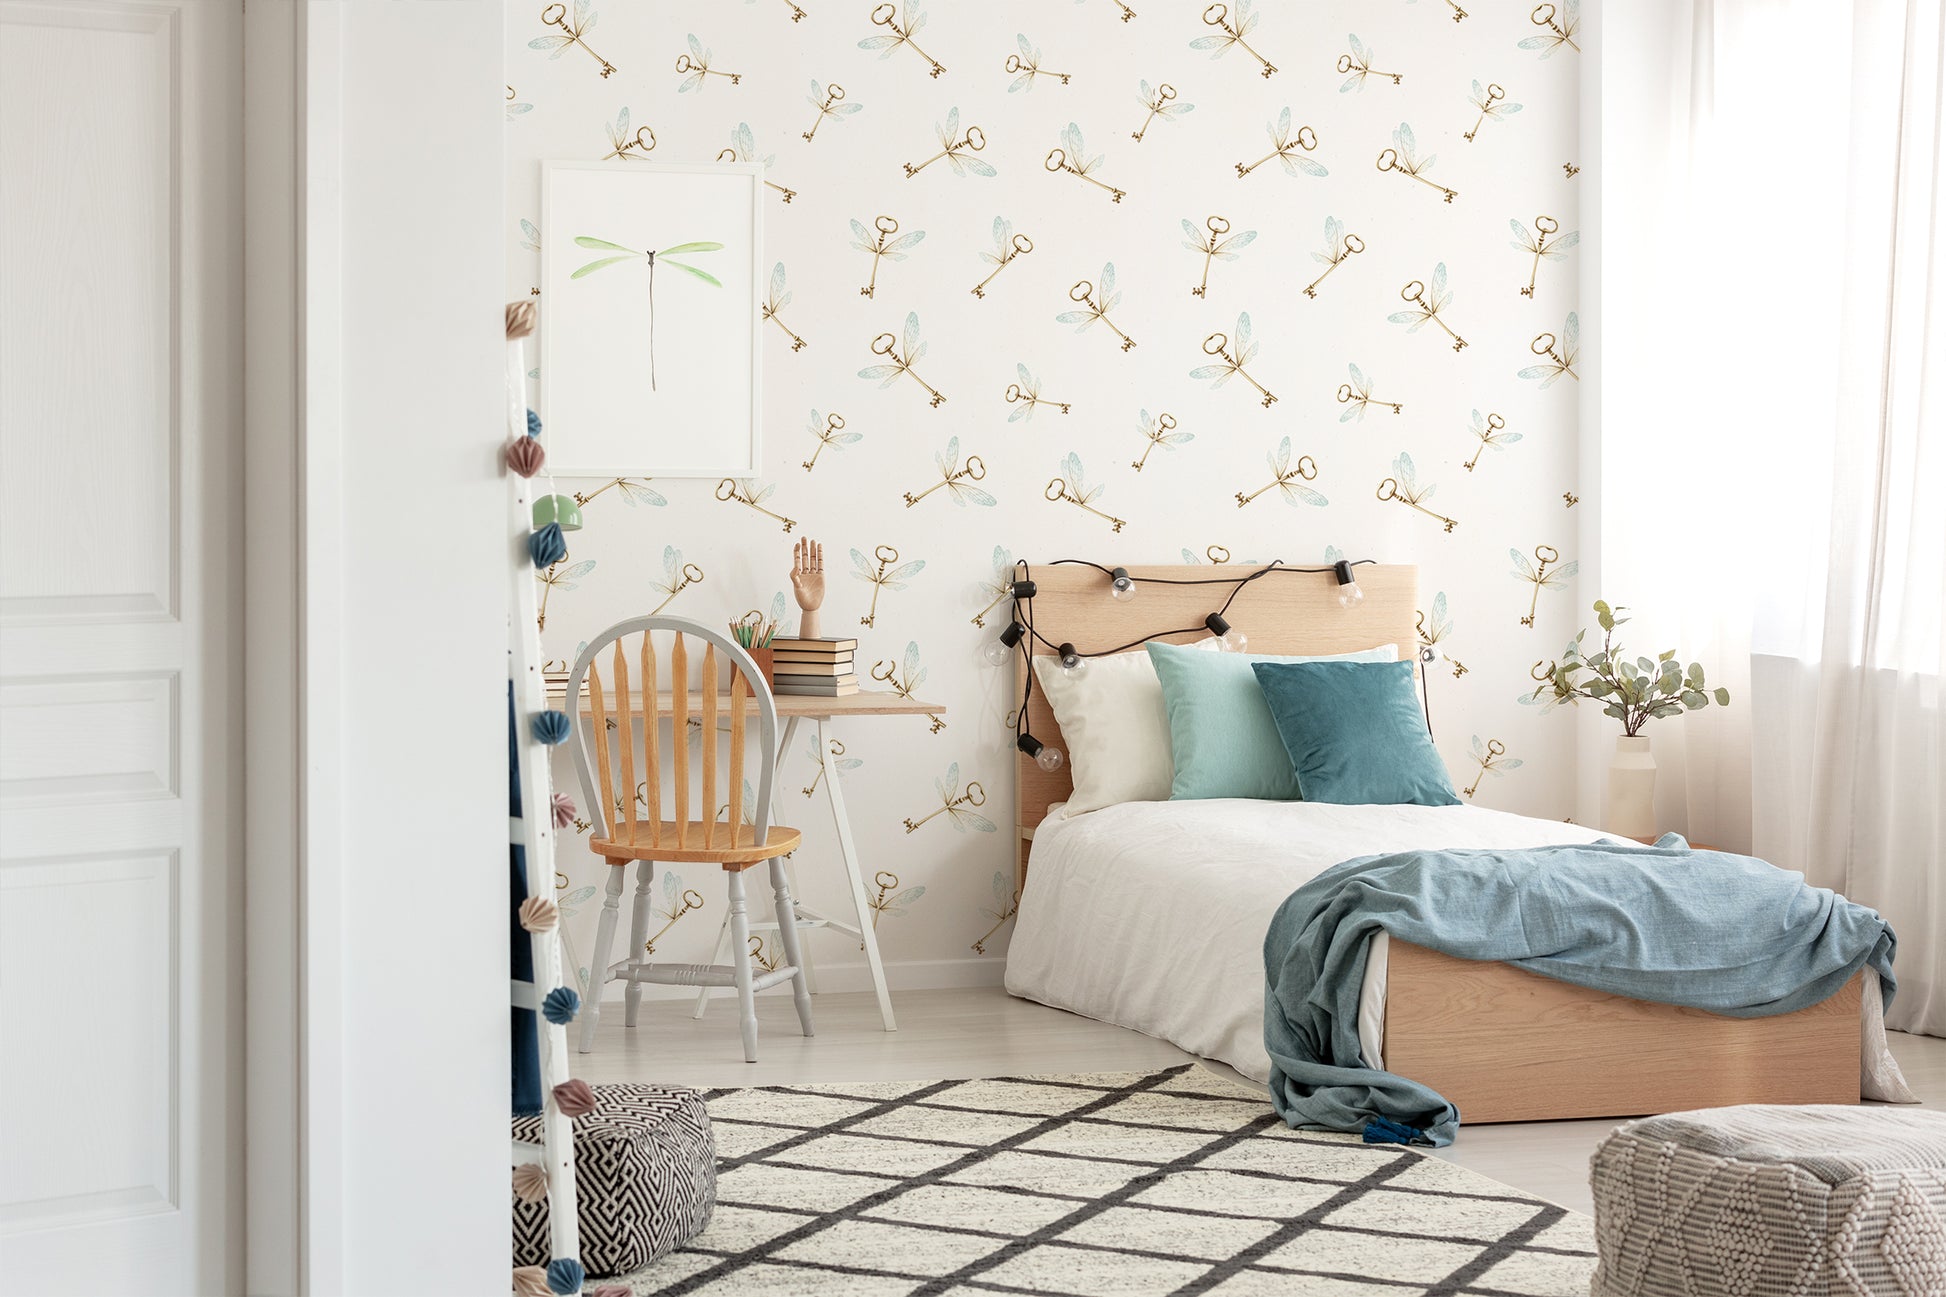
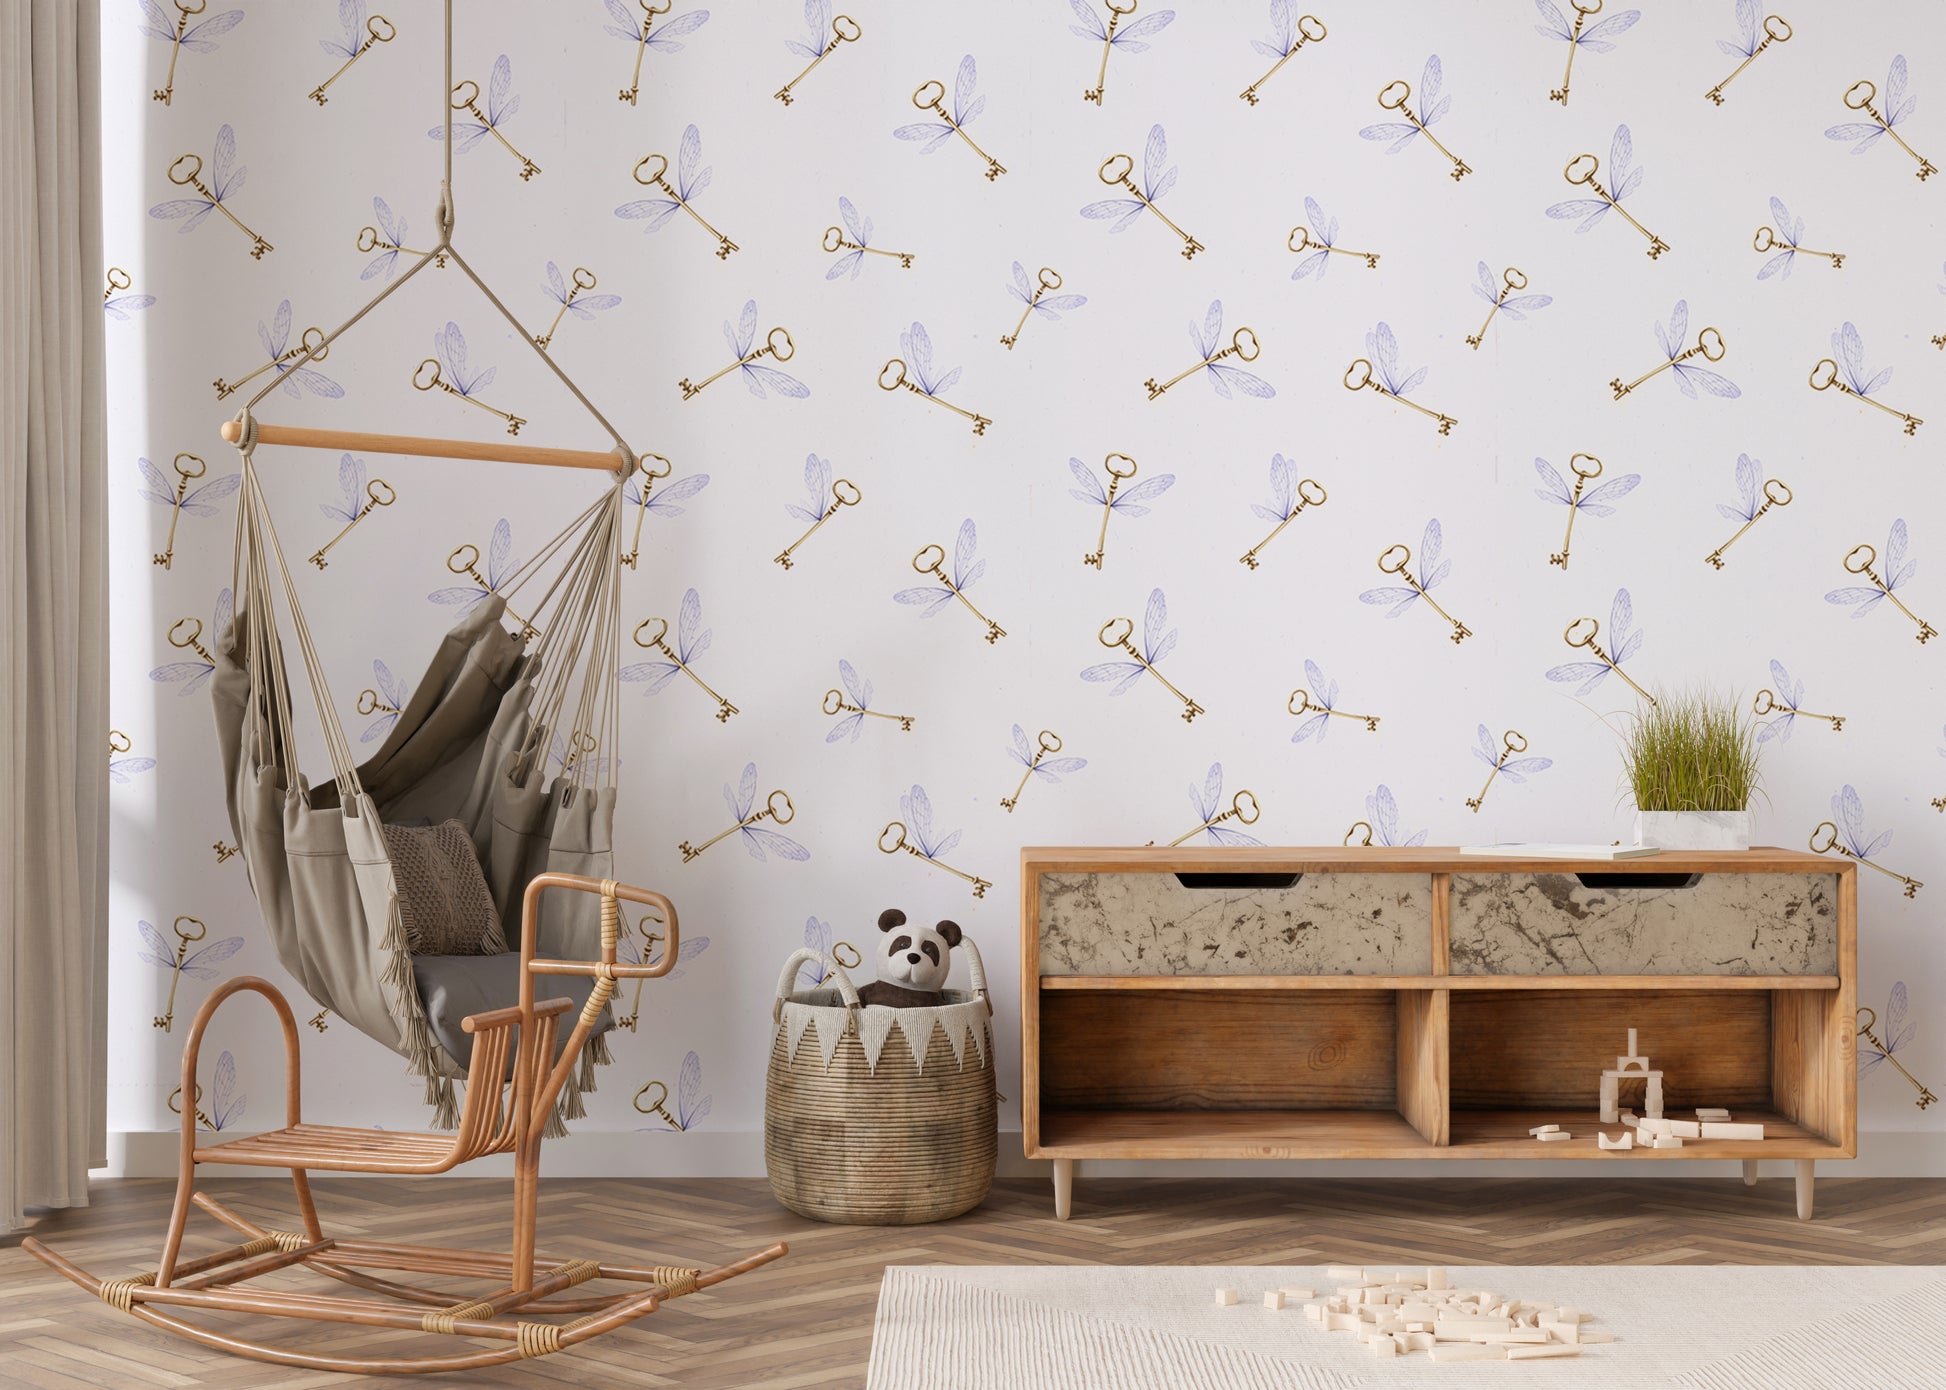
Flying Keys Removable Peel And Stick Wizardly Wallpaper in blue
Flying Keys Removable Peel And Stick Wizardly Wallpaper in blue
No se pudo cargar la disponibilidad de retiro
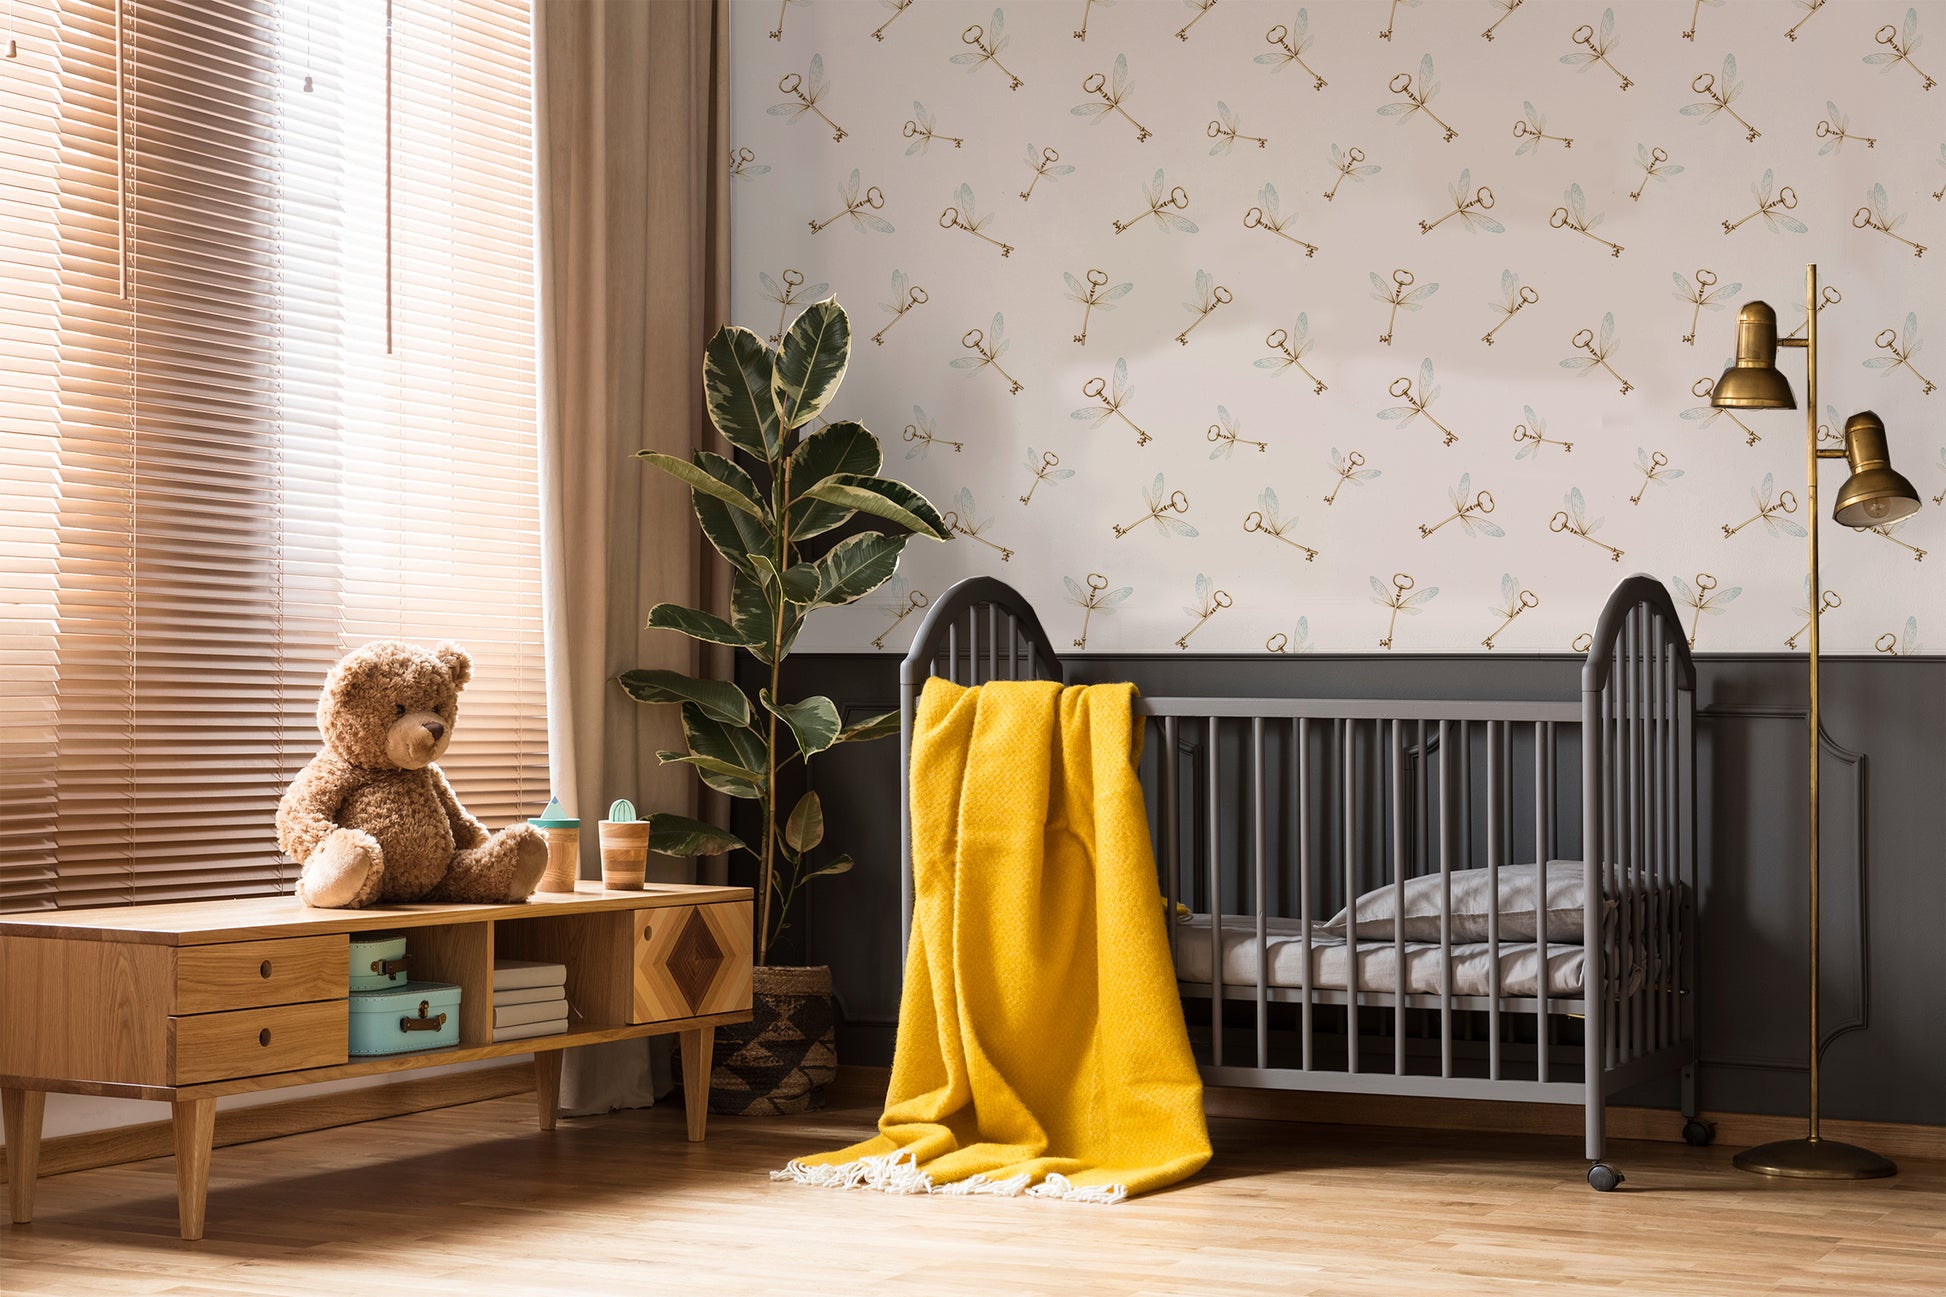
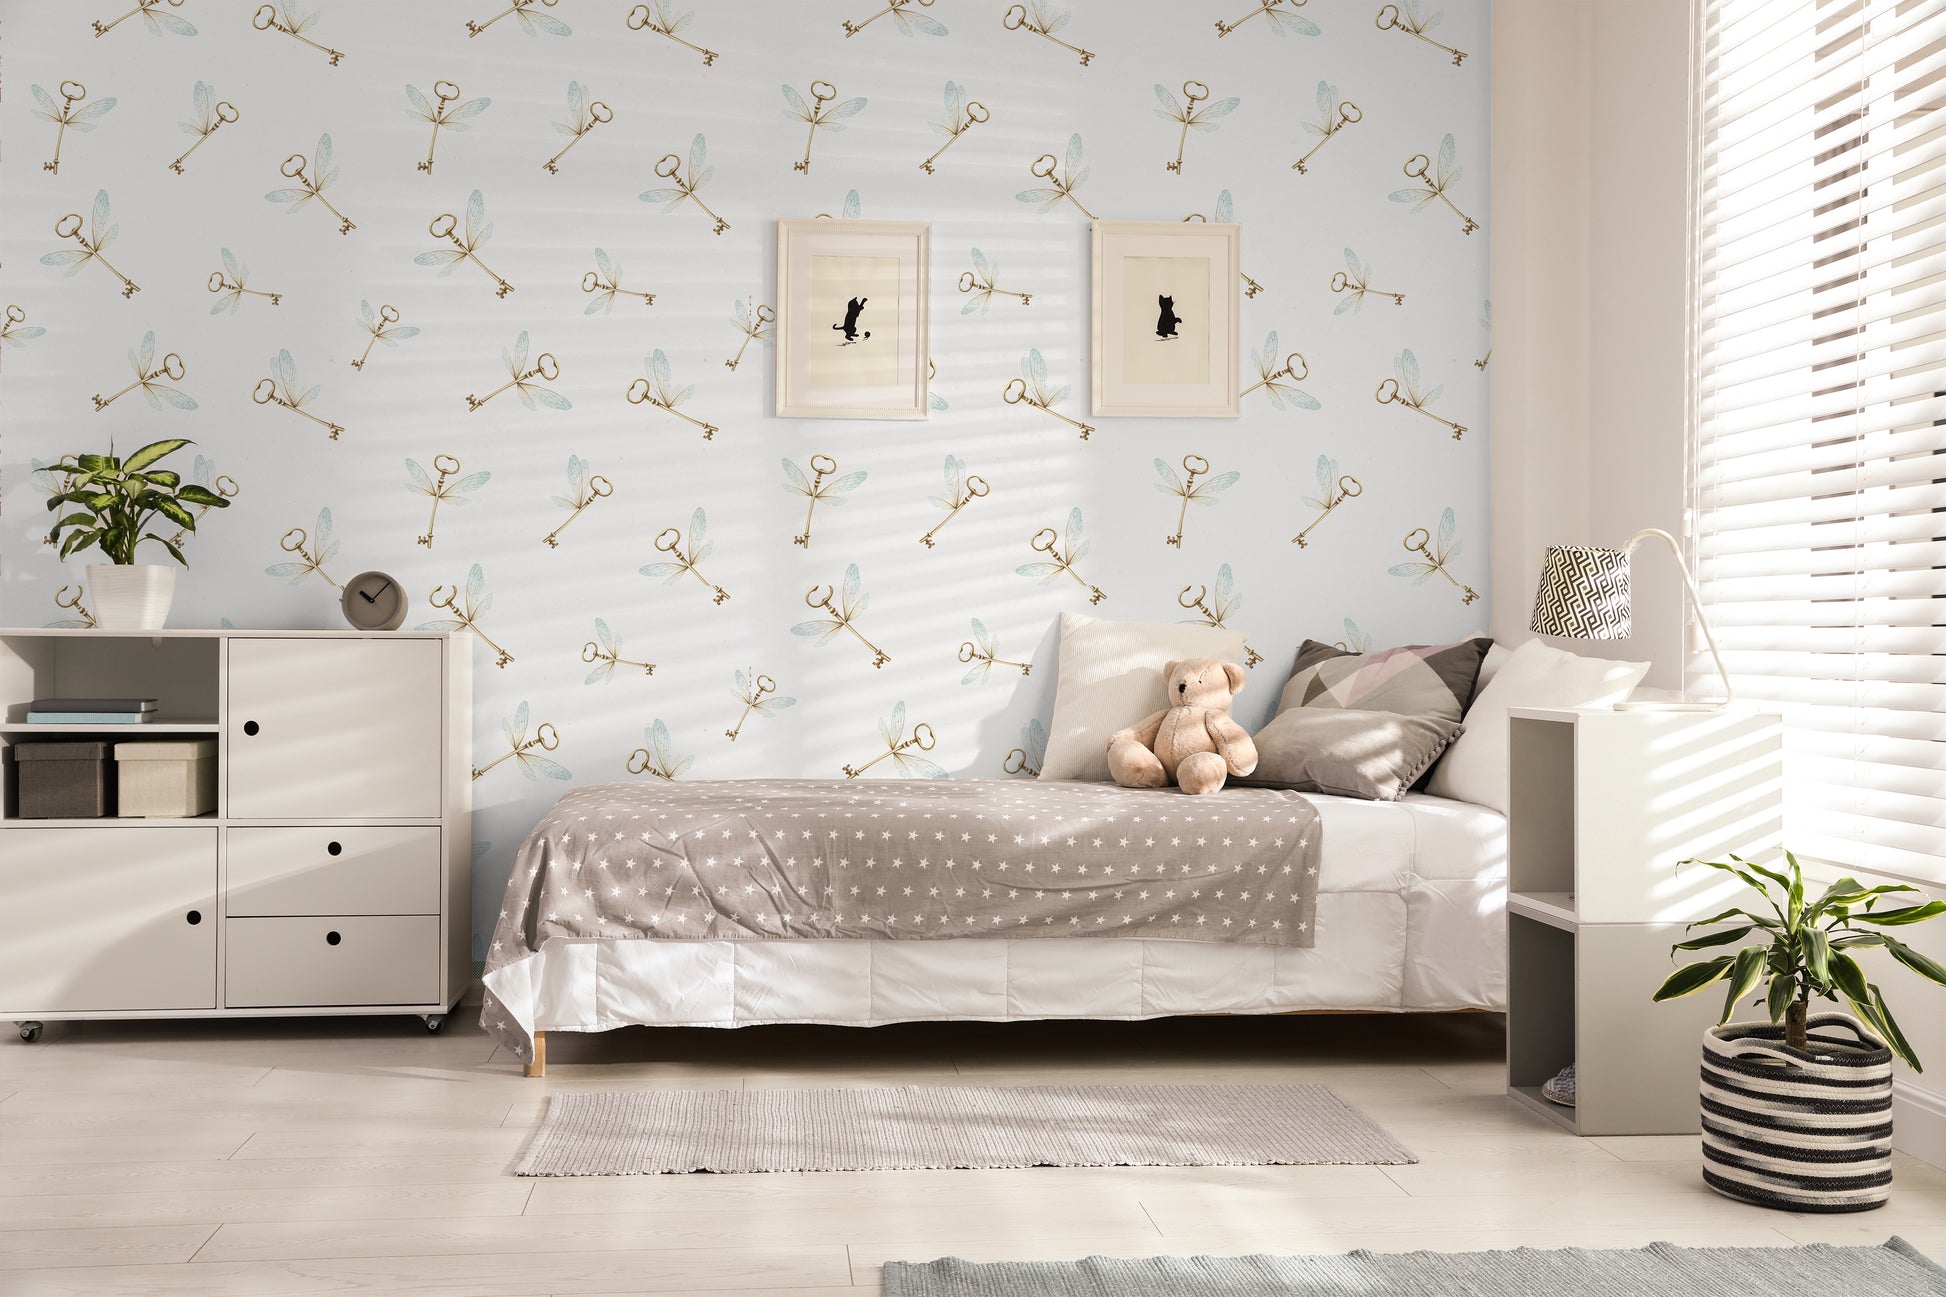
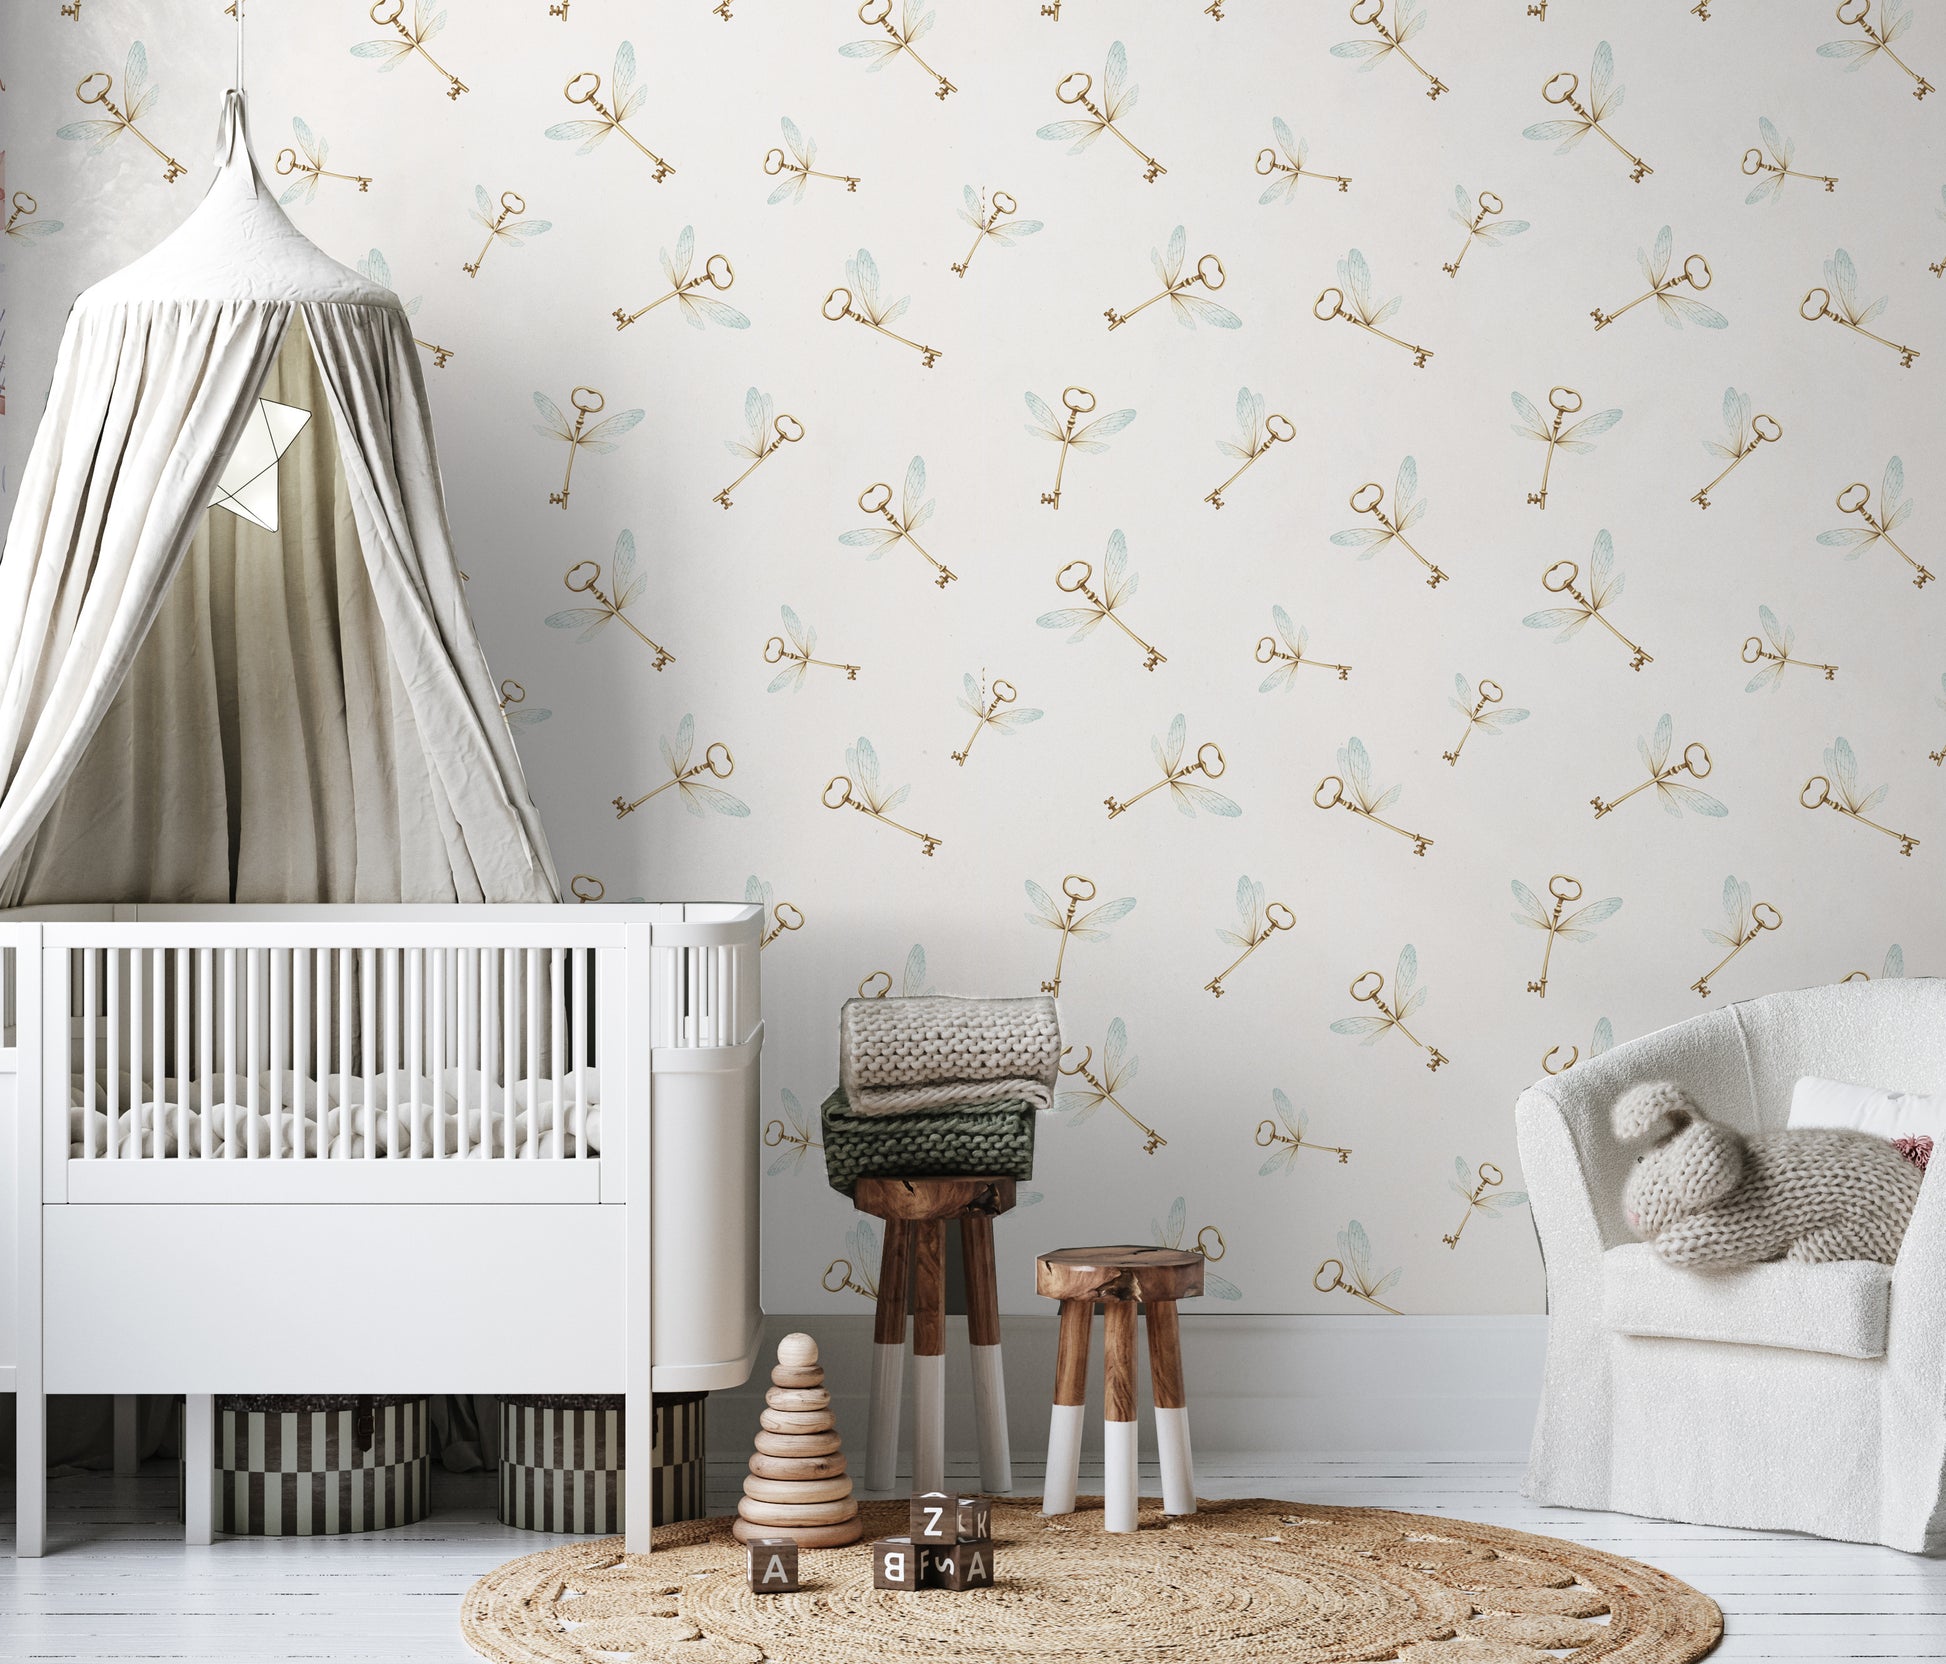
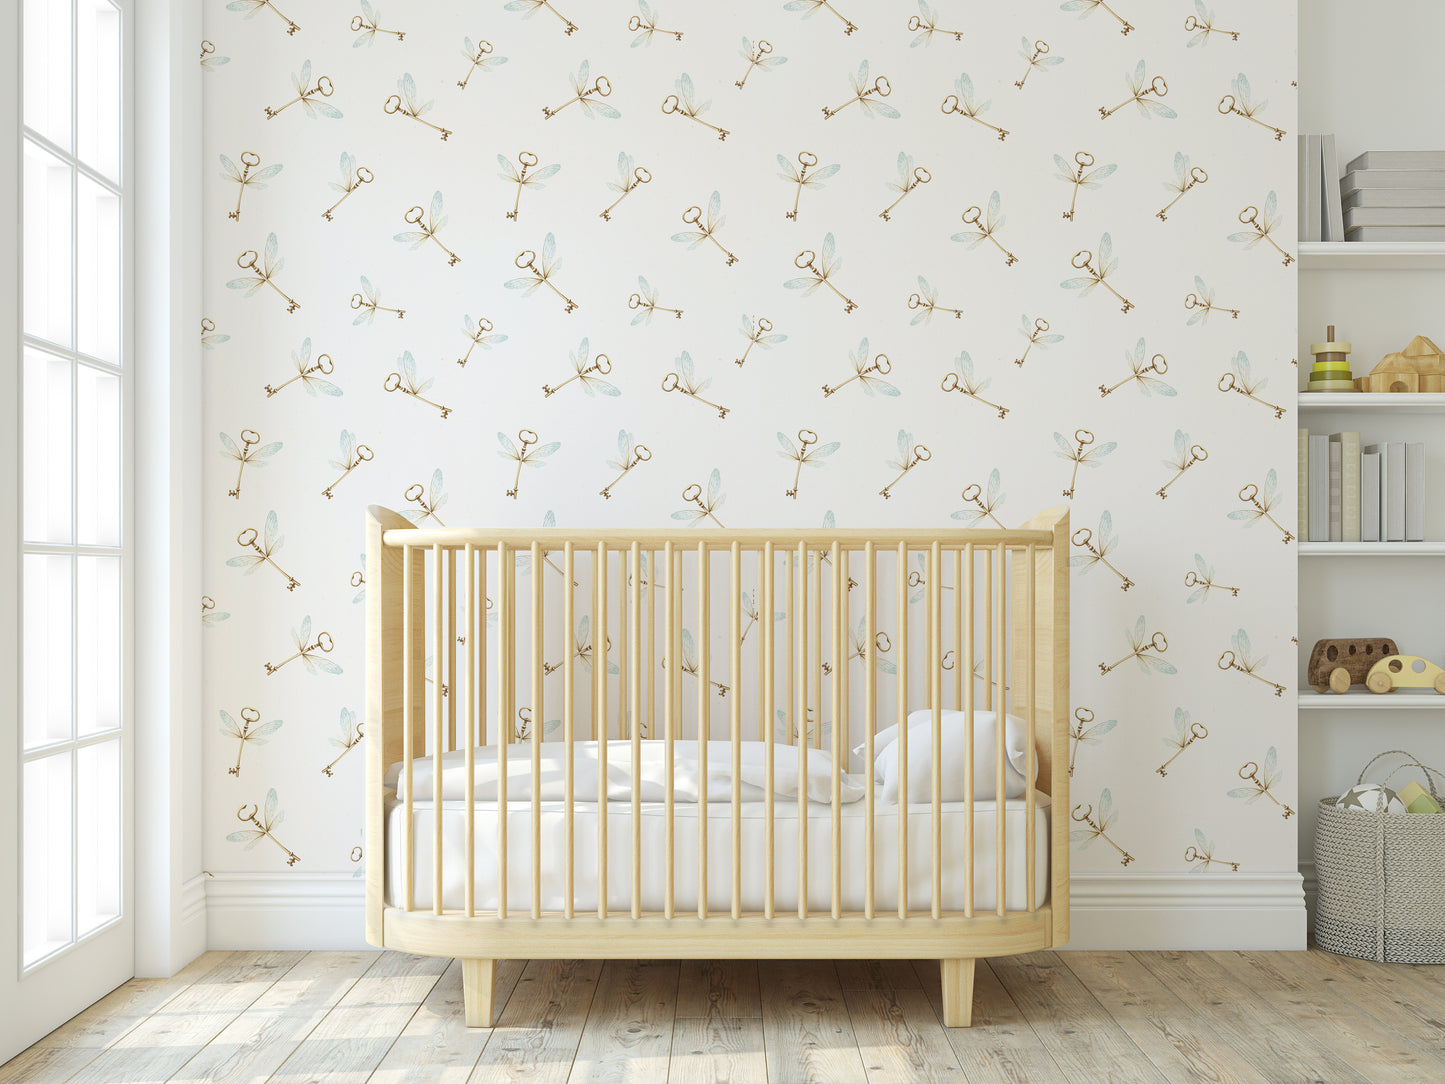
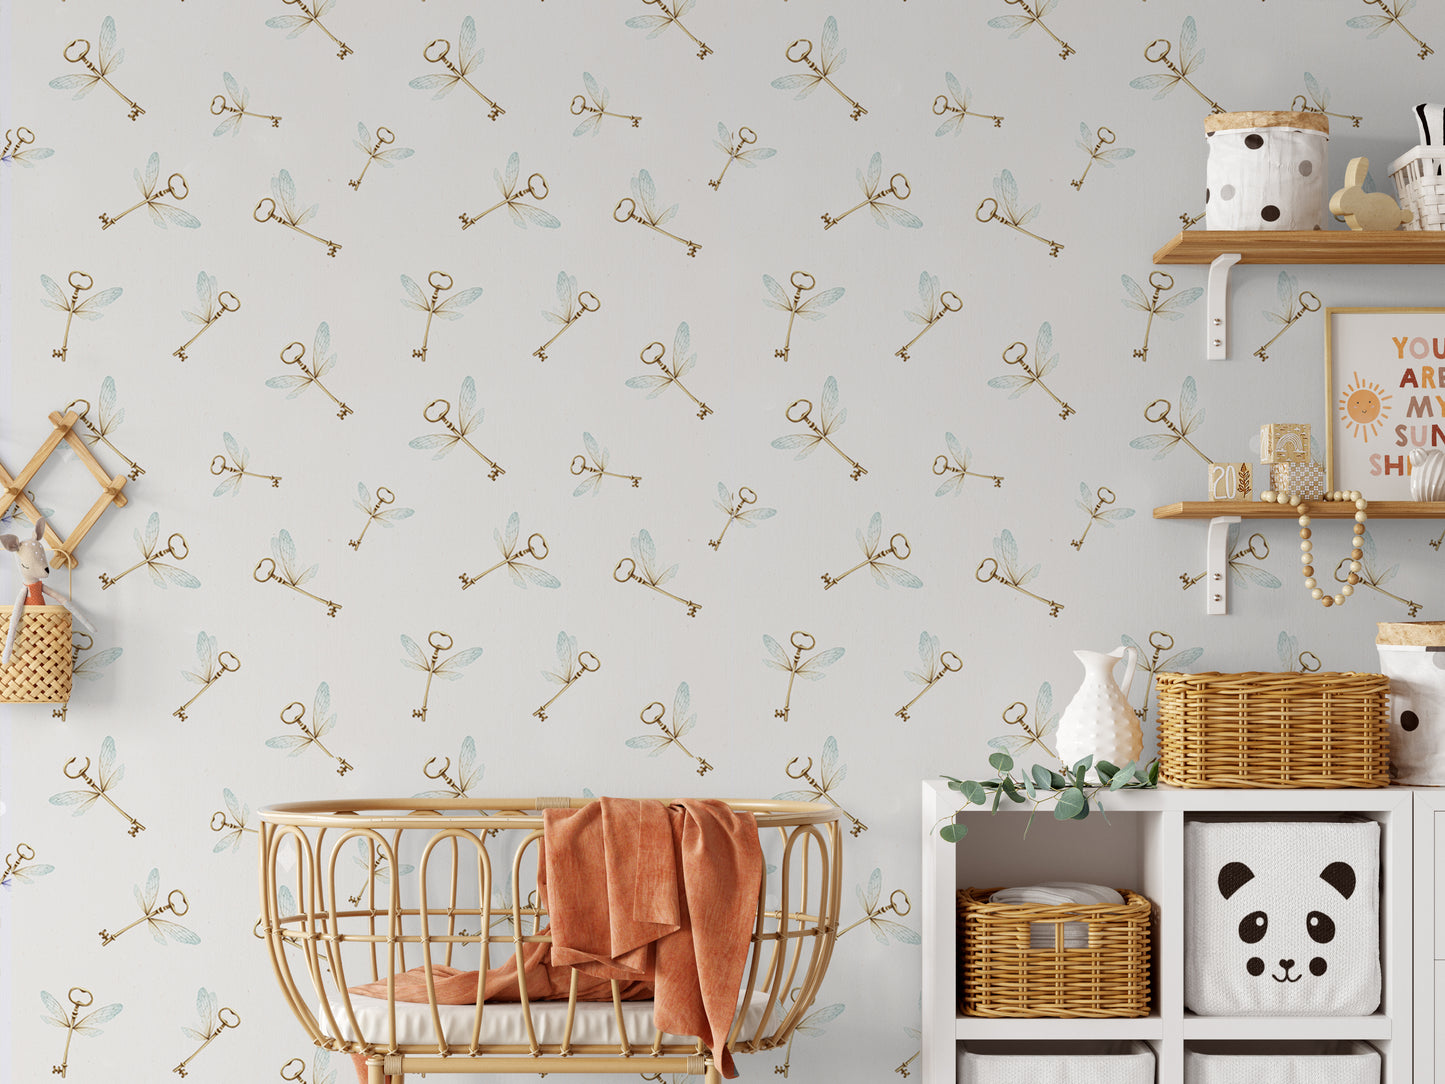
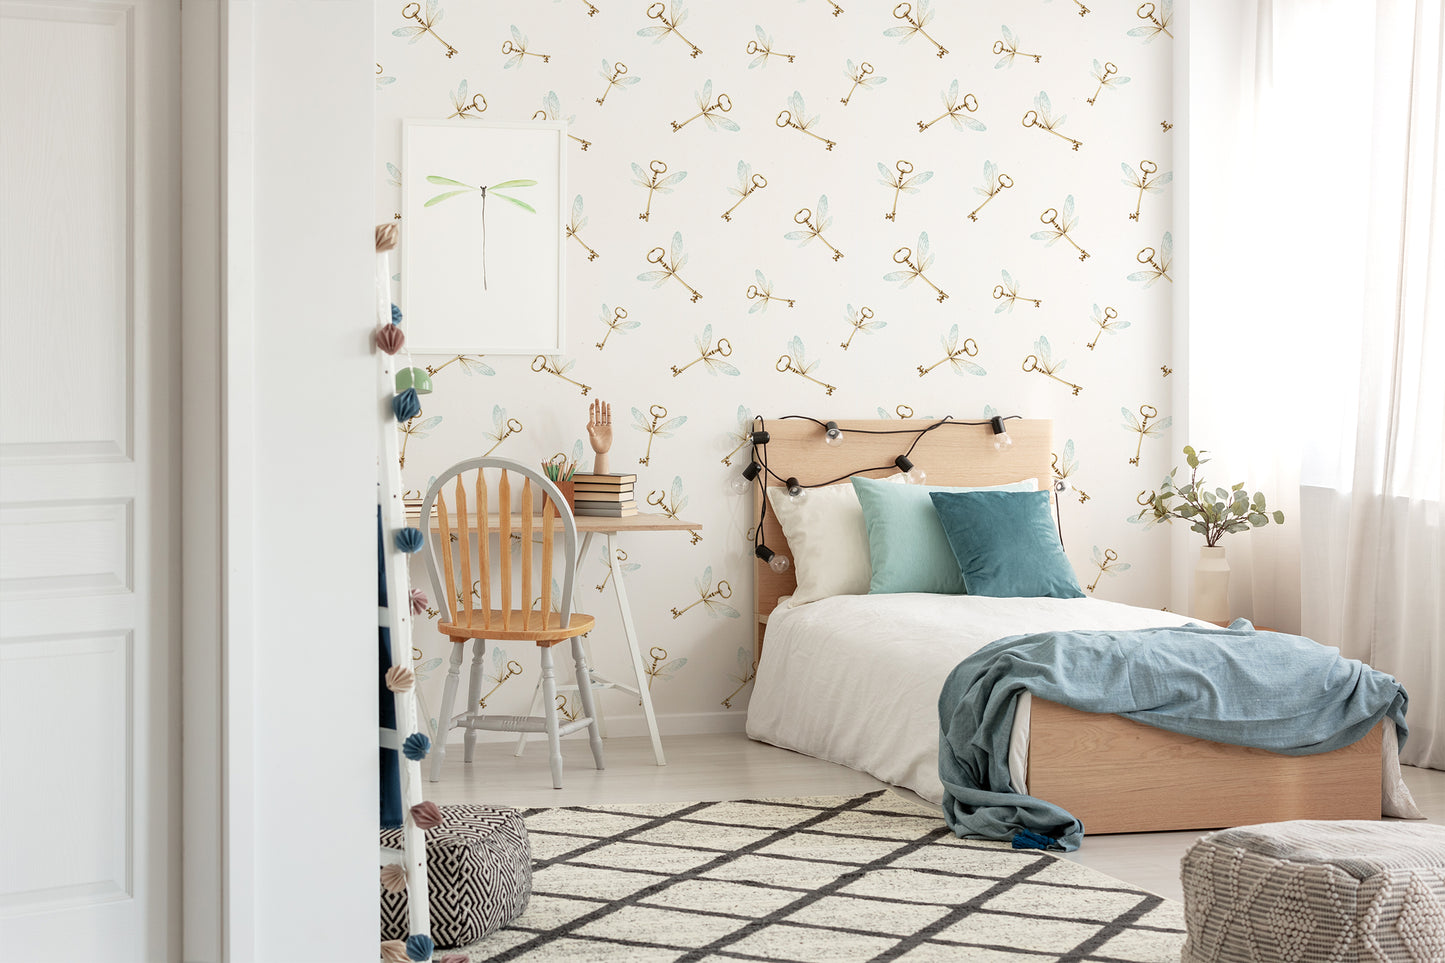
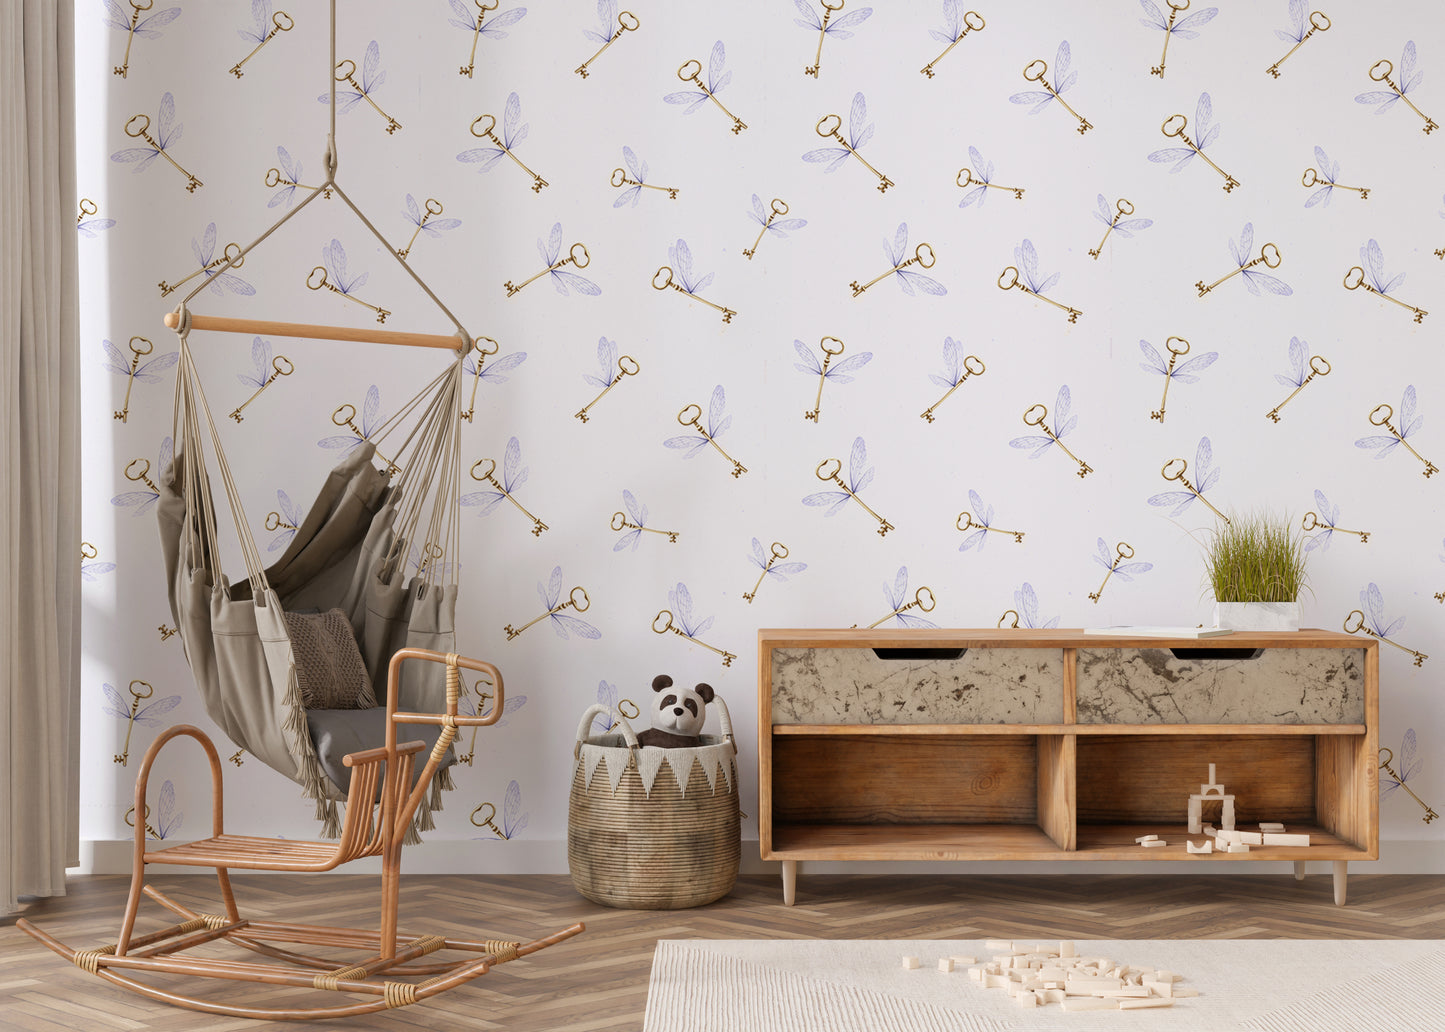
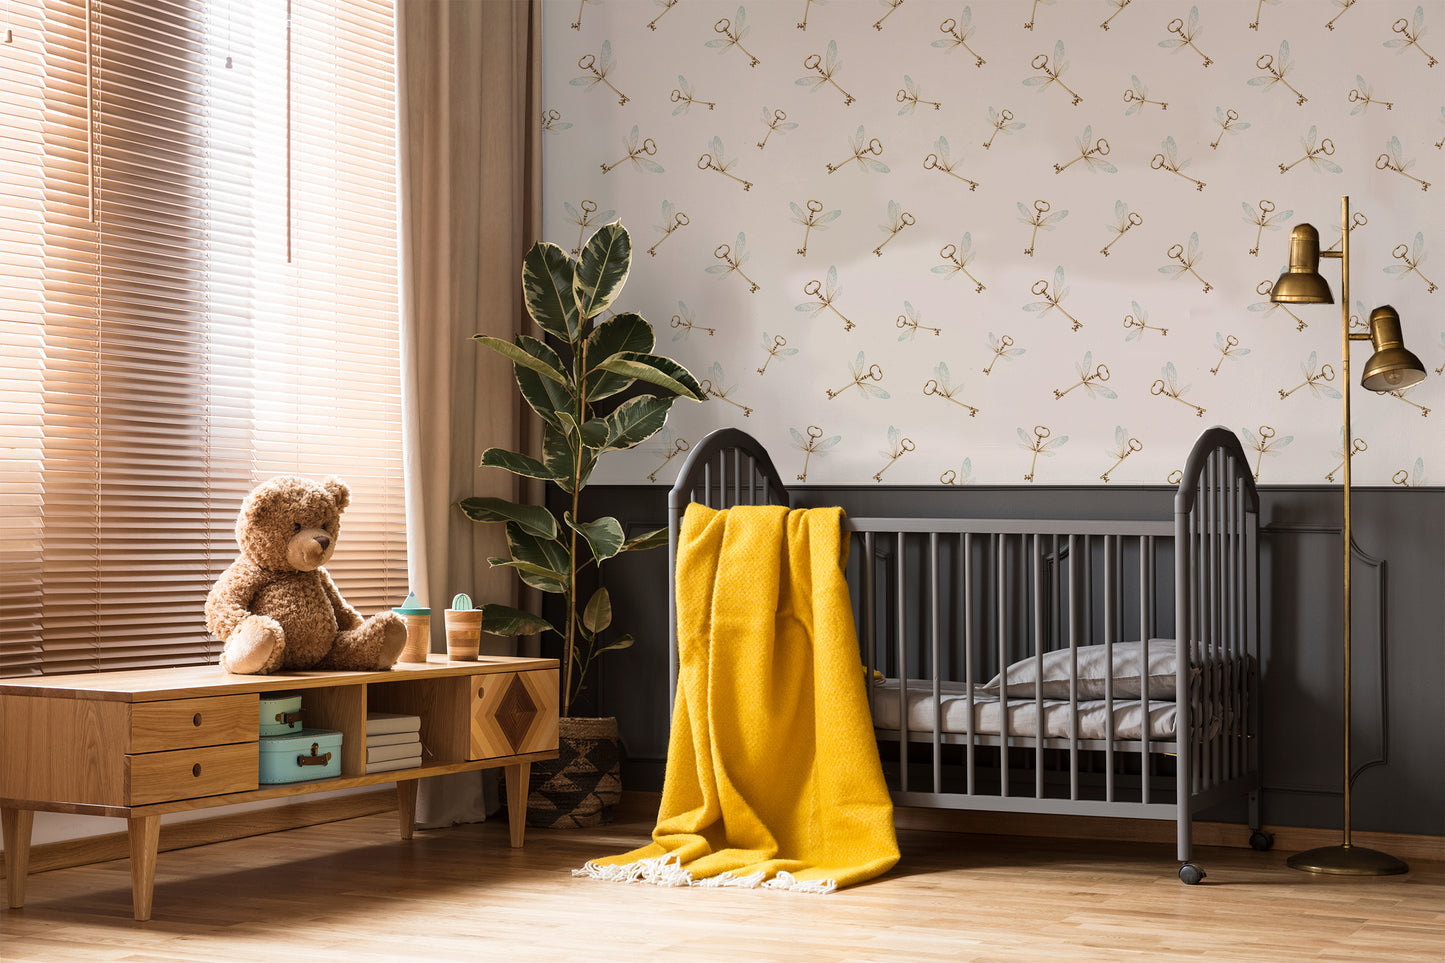
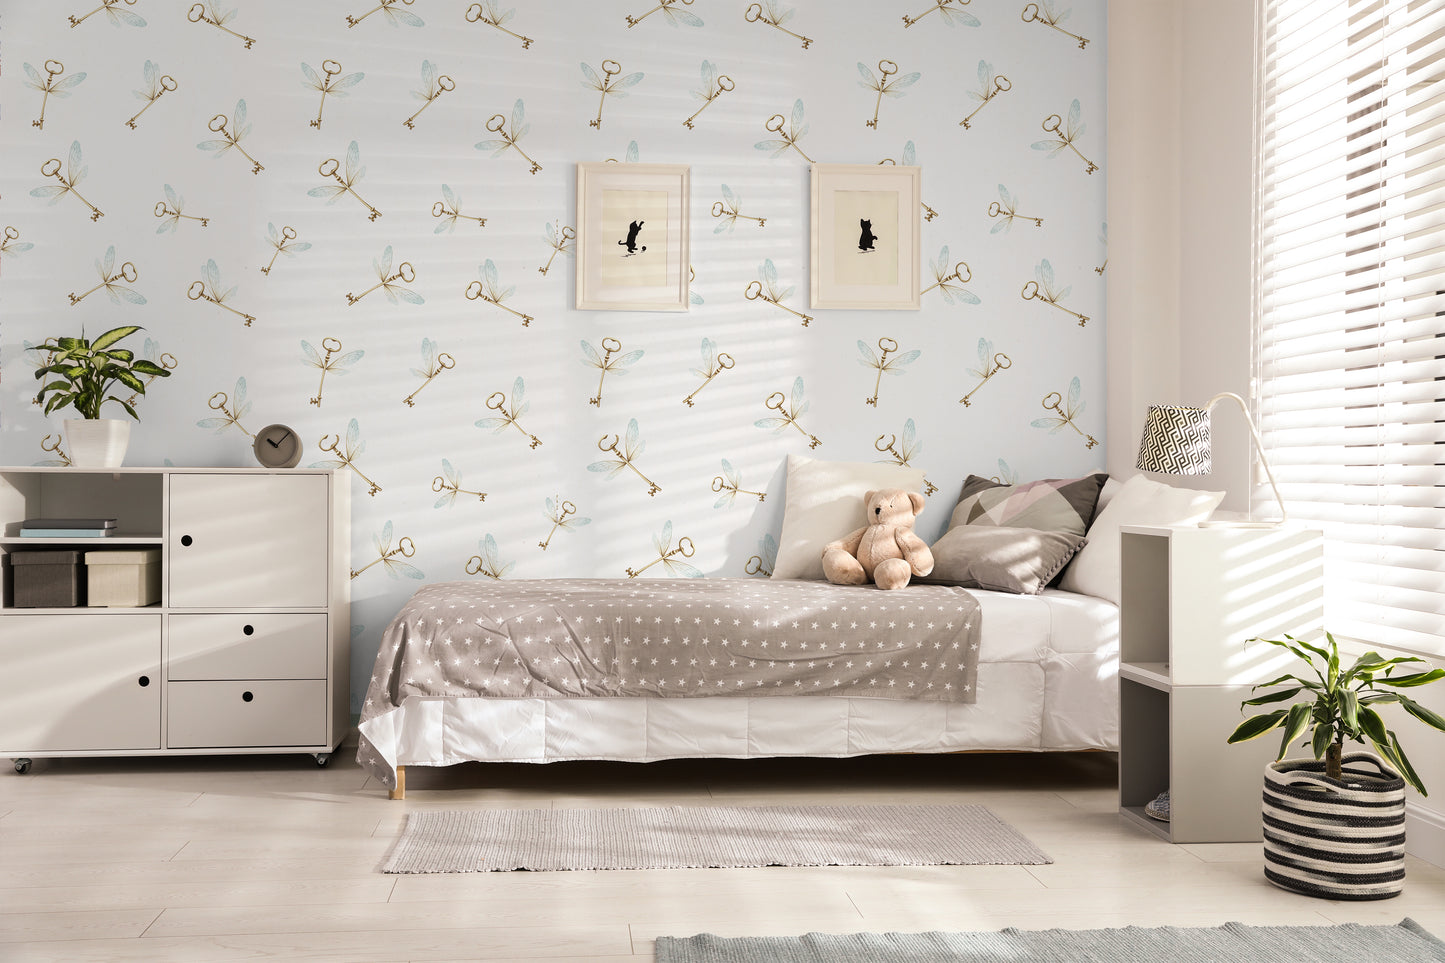
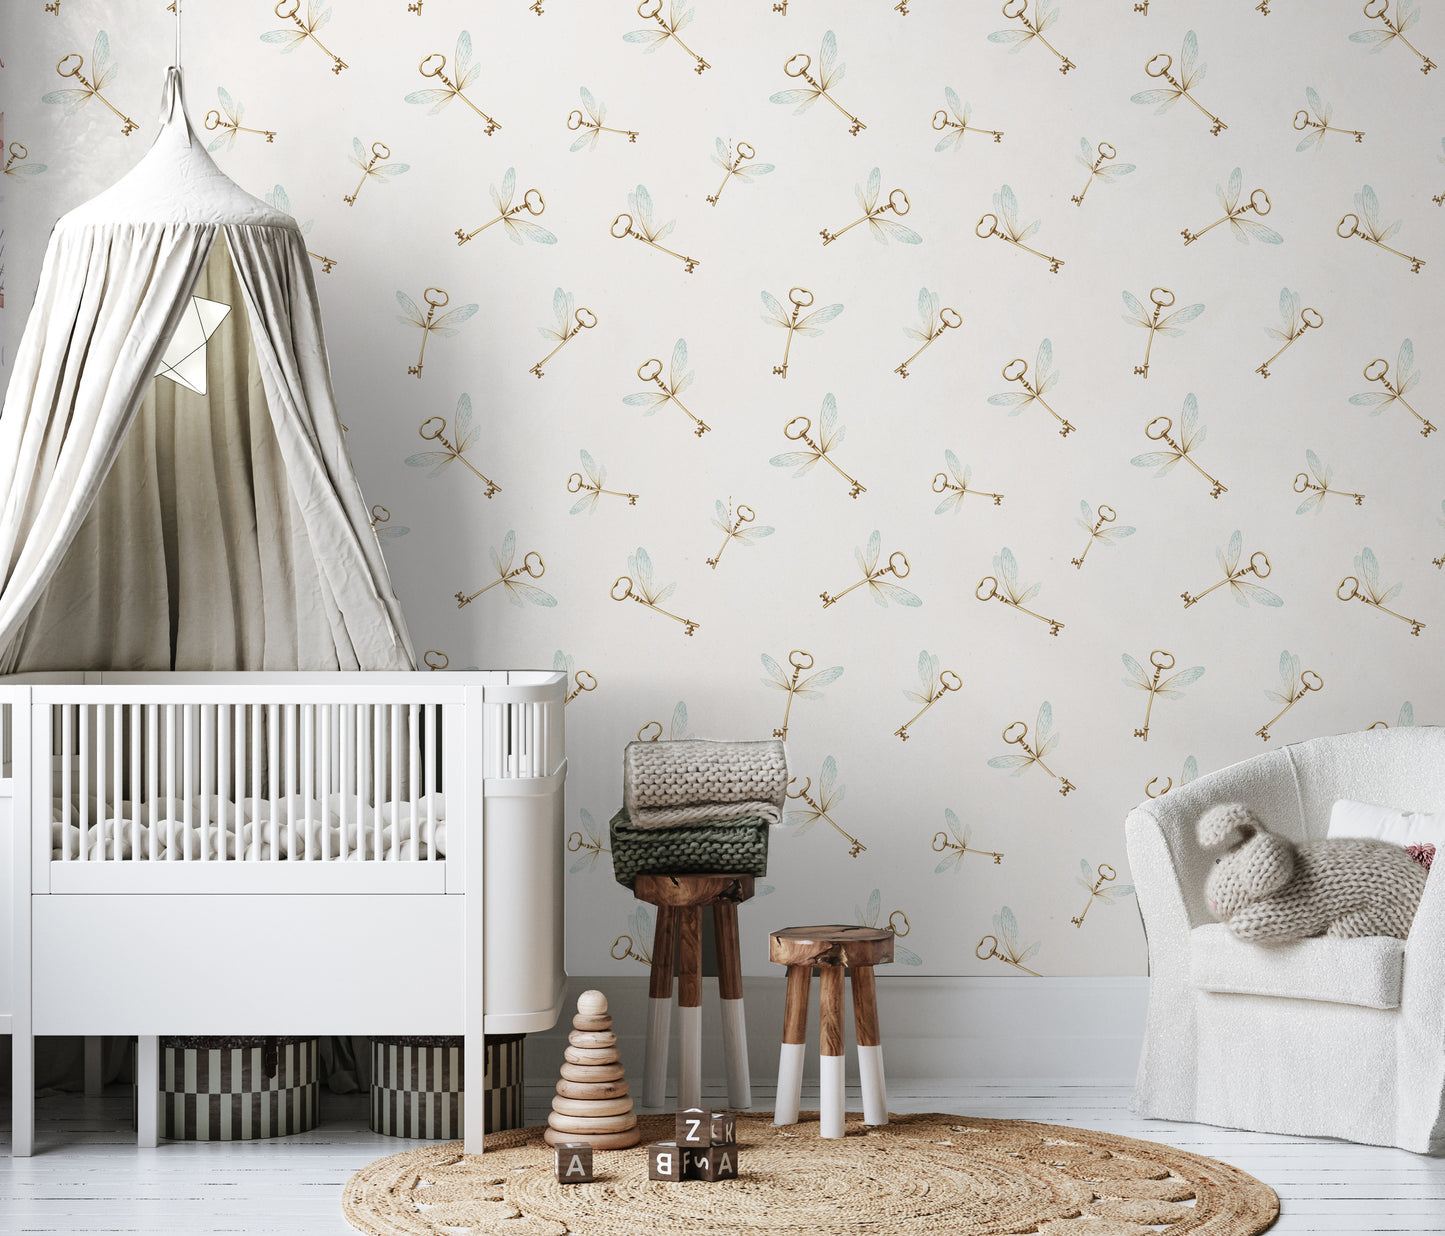
Thi wizard wallpaper features golden flying keys with blue wings on a soft white background. This wallpaper would make any child's room absolutely magical.
Available in both Canvas (textured) and Vinyl (smooth) We always recommend ordering sample before committing to full rolls so that you can see what they look like in your space.
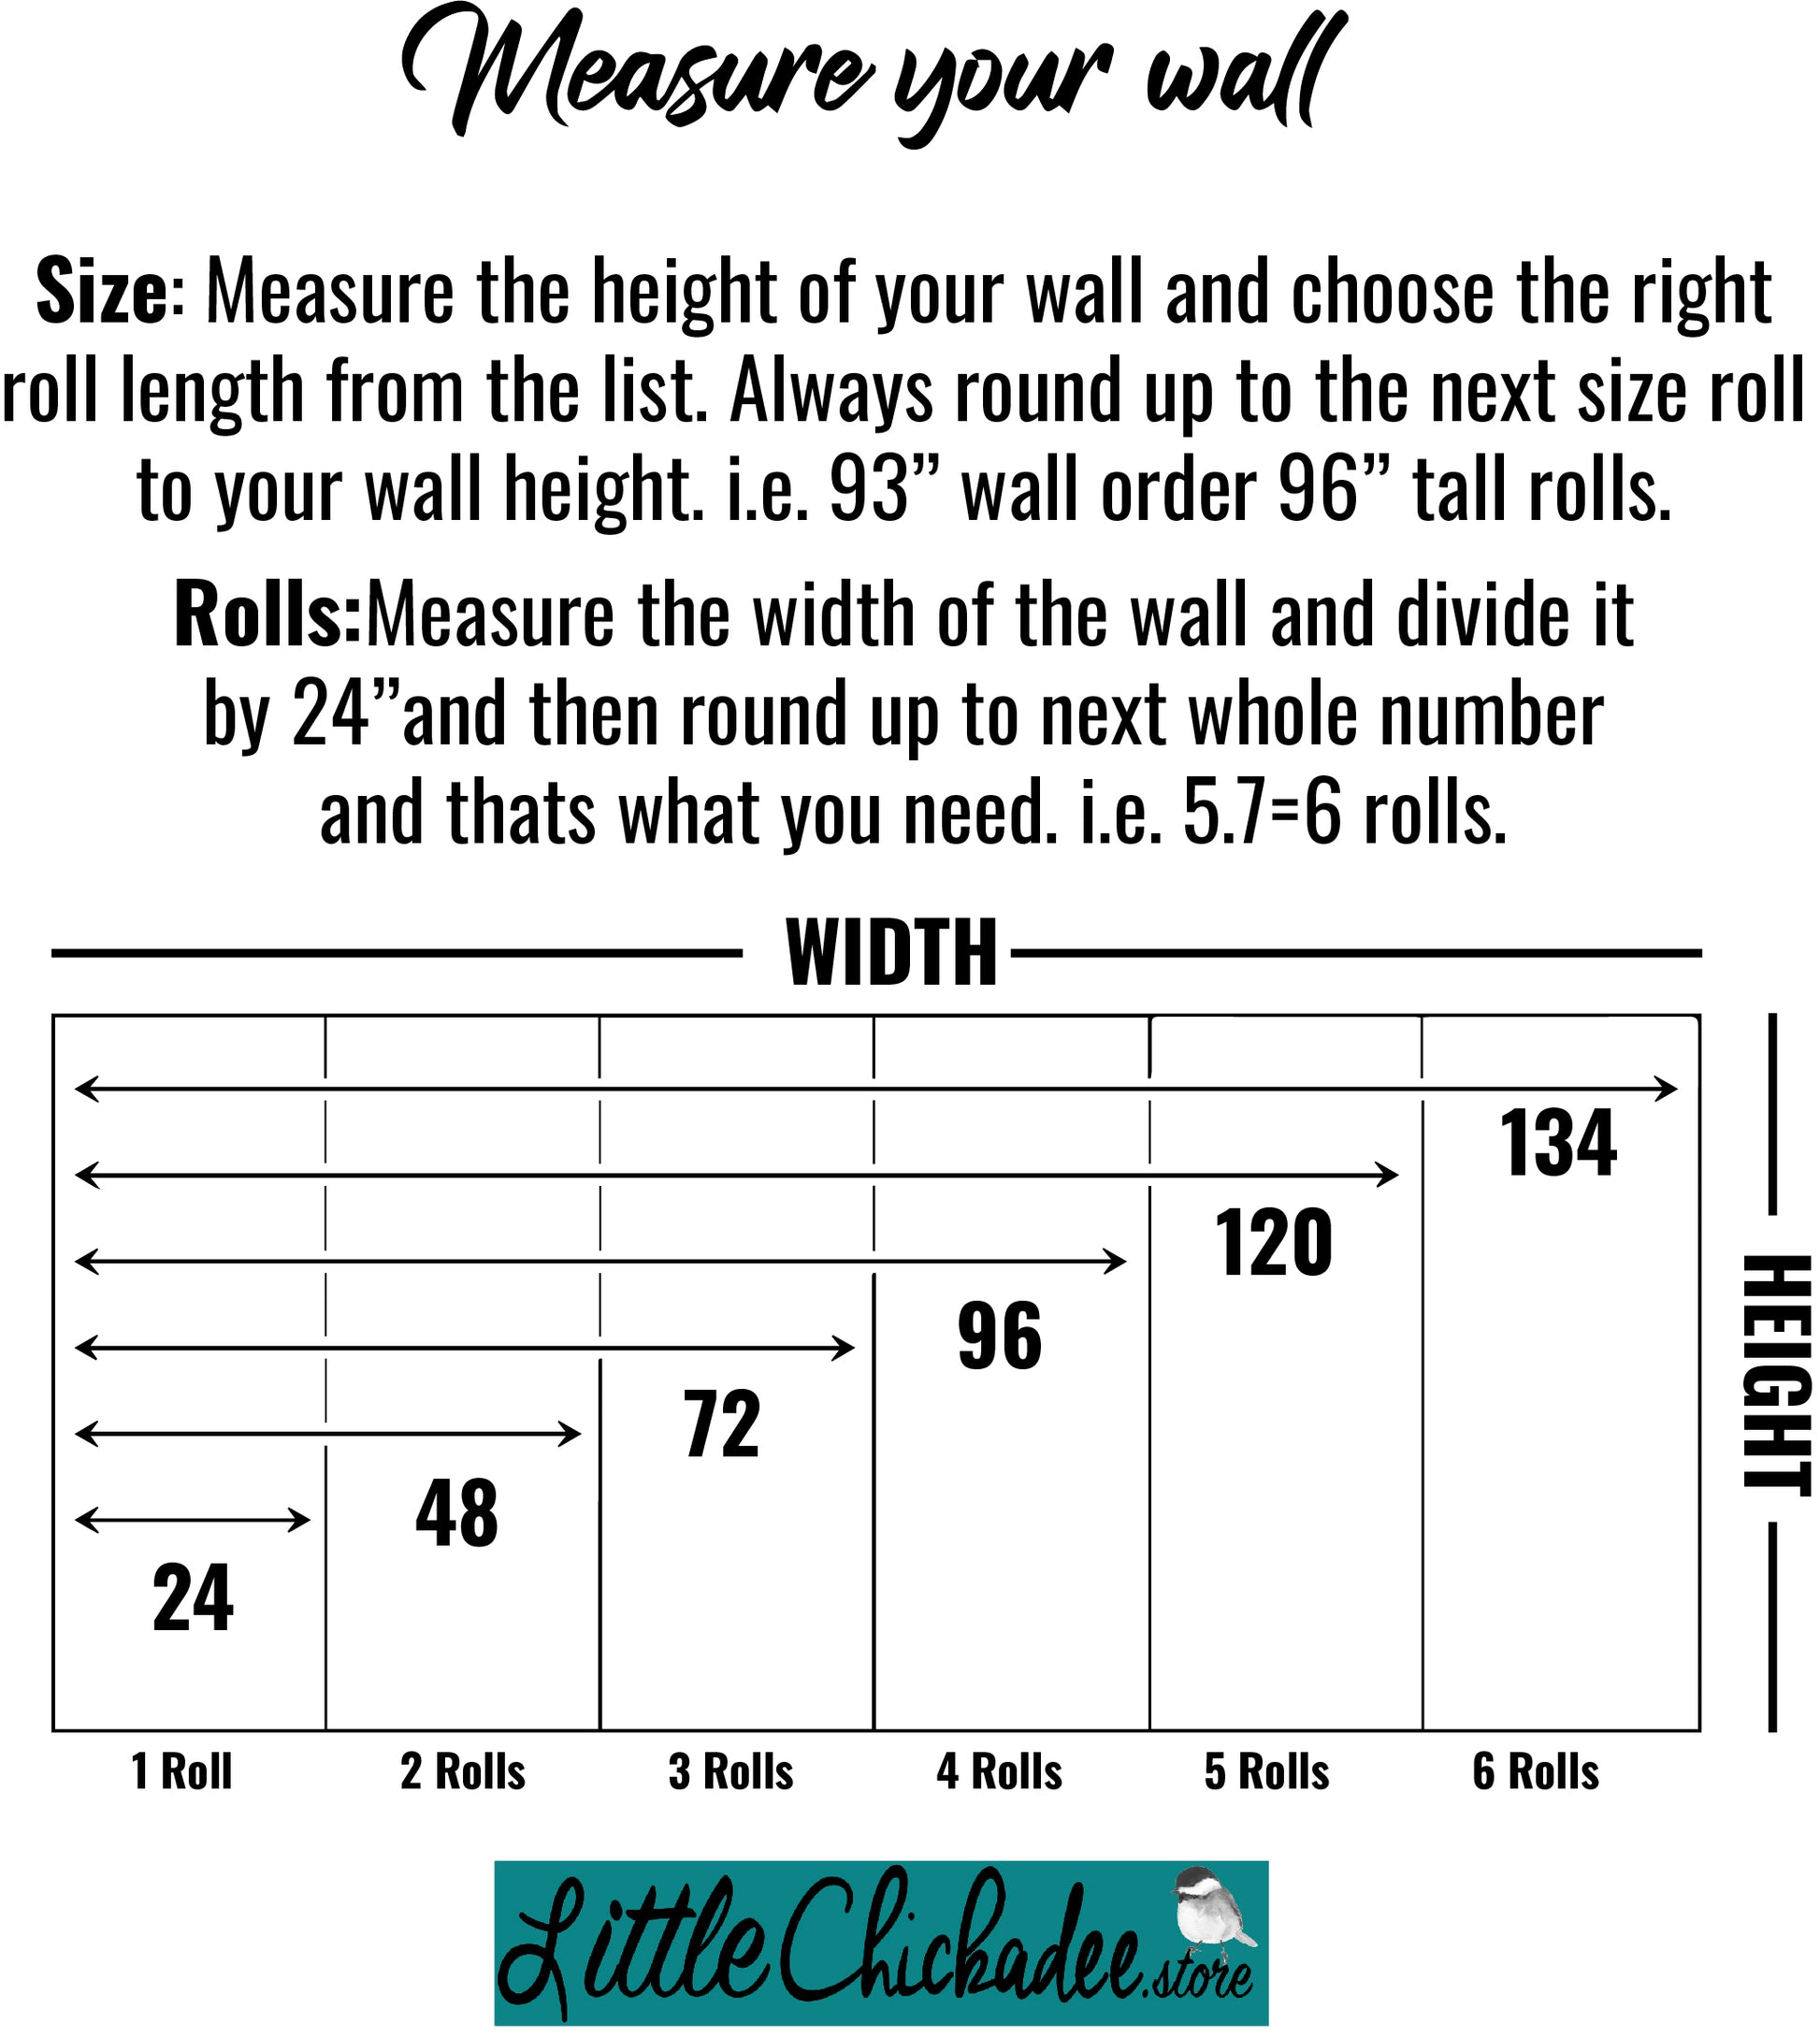
See Resource page for easy measurement guide and DIY installation video
Proudly Made in USA
Materials
Materials
All of our wallpaper is available in your choice of either canvas or vinyl material.
Our canvas is slightly textured and features a matte finish, similar to that of an unpainted canvas wrap.
Our vinyl has a smooth, flat finish that allows colors to appear more vivid.
Shipping & Returns
Shipping & Returns
Our wallpaper is printed on demand once your order is received and will be processed and shipped in 2-3 business days, followed by the shipping time selected at checkout. Overnight service is available and contact us at littlechickadeeshop@gmail.com with any further shipping questions.
We do not offer returns of wallpaper once delivered so we strongly suggest you order a sample of the material type and wallpaper design choice before ordering your full wall order.
To be eligible for a return, your item must be in the same condition that you received it, unworn or unused, with tags, and in its original packaging. You’ll also need the receipt or proof of purchase.
You can always contact us for any return question at littlechickadeeshop@gmail.com.
Damages and issues
Please inspect your order upon reception and contact us immediately if the item is defective, damaged or if you receive the wrong item, so that we can evaluate the issue and make it right.
You can always contact us for any damage questions at littlechickadeeshop@gmail.com.
Exceptions / non-returnable items
Unfortunately, we cannot accept returns on sale items or gift cards.
European Union 14 day cooling off period
Notwithstanding the above, if the merchandise is being shipped into the European Union, you have the right to cancel or return your order within 14 days, for any reason and without a justification. As above, your item must be in the same condition that you received it, unworn or unused, with tags, and in its original packaging. You’ll also need the receipt or proof of purchase.
As always with any issues
Please contact us at littlechickadeeshop@gmail.com
Share
Hanging Instructions
Little Chickadee has made installing wallpaper a breeze, allowing you to easily do it yourself or with a friend. Don't worry; it's simple, and if I can do it, so can you. It's even easier and less messy than painting, and it's non-toxic as well.
When your preferences change, rest assured that our wallpaper is completely removable. Gone are the days when you had to paint over or replace the drywall.
We use only high-quality materials, ensuring effortless installation at direct wholesale prices. Our materials are never left sitting in a warehouse.
To complete the wallpaper installation, you'll need the following materials:
✅ Sharp exacto knife
✅ Scissors
✅ Pencil
✅ Measuring tape
✅ Large level ruler (anything with a straight edge will work; even the wallpaper box can be used)
✅ Squeegee (provided when you make a $100 purchase)
✅ Damp cloth
Step 1: Measure Your Wall
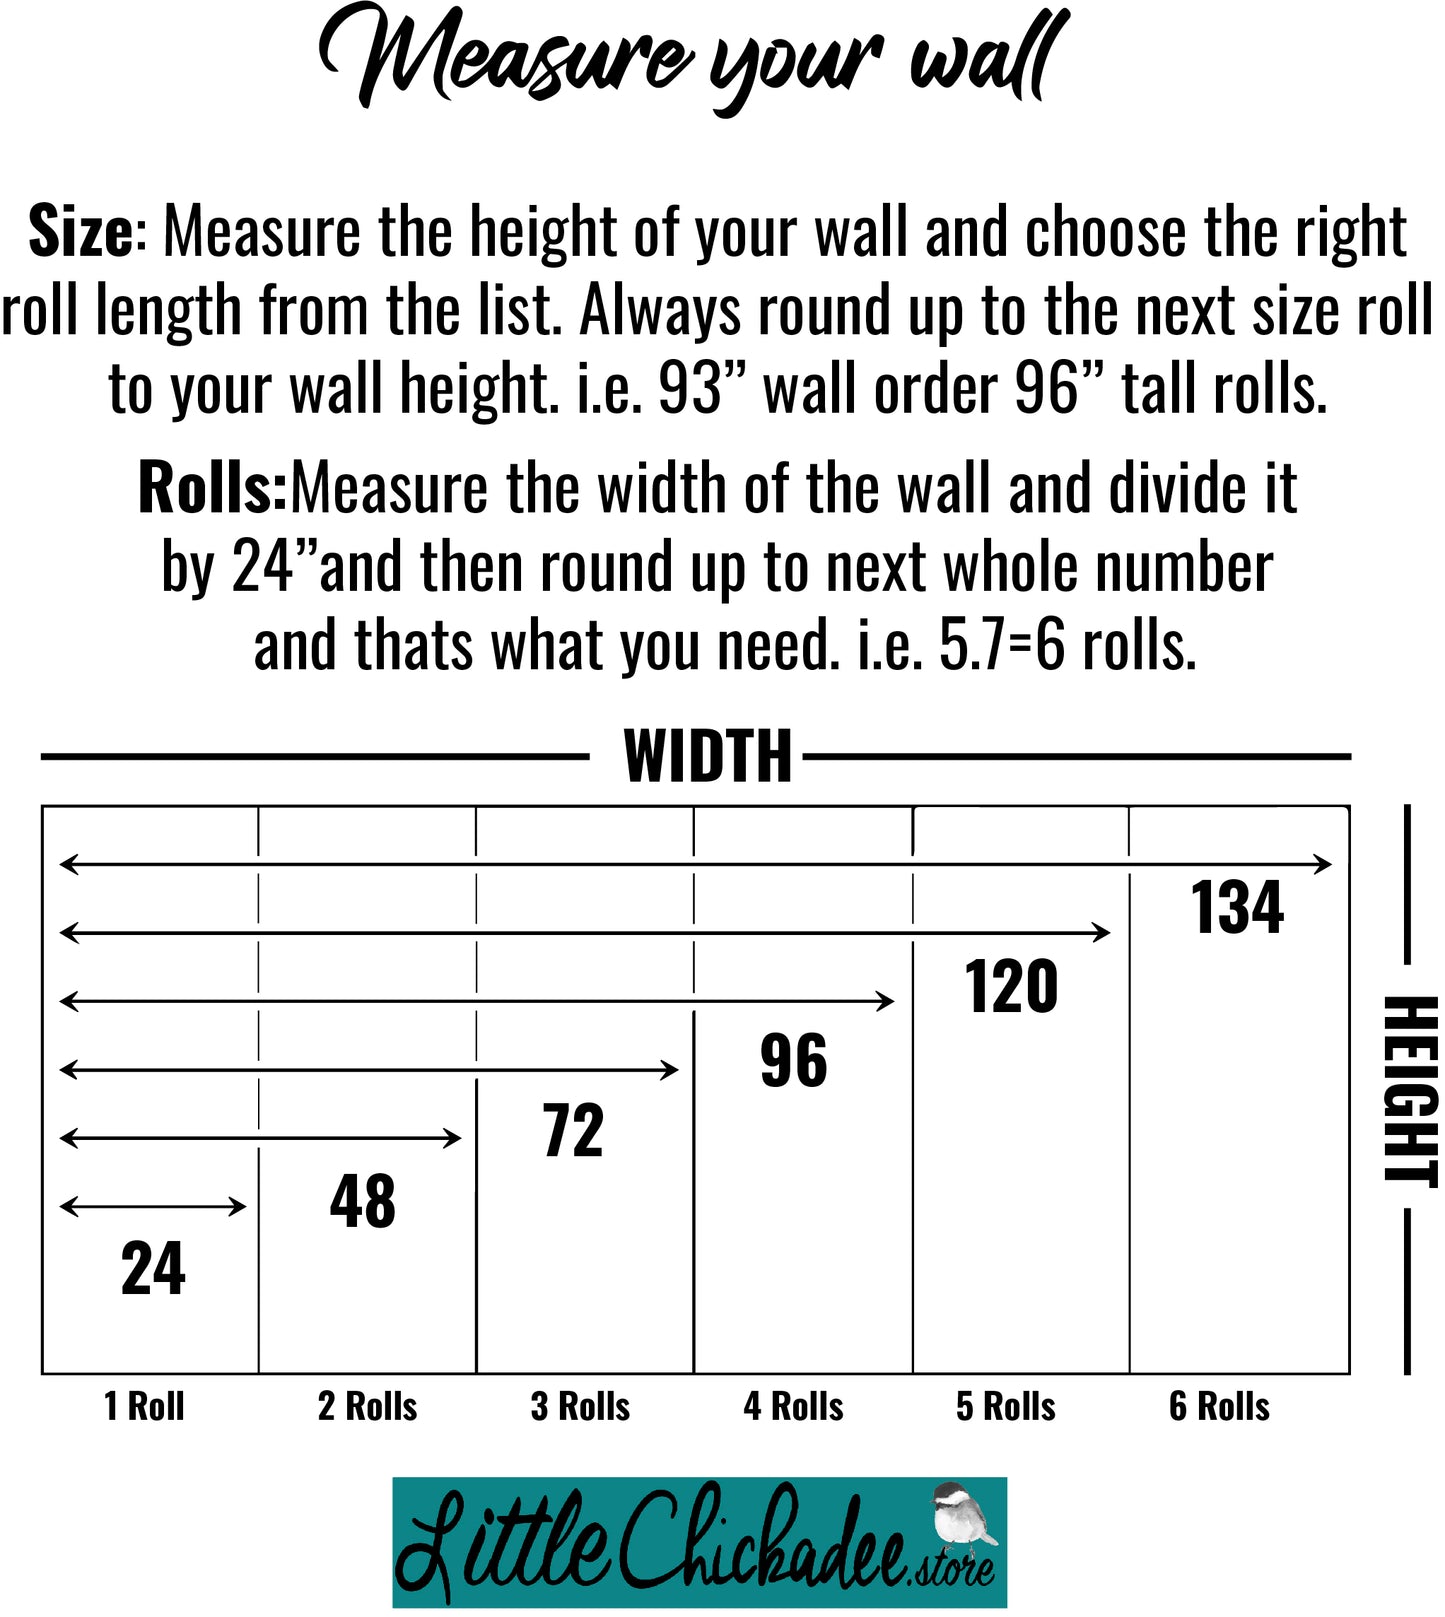
To begin, measure the width of your wall. Our rolls are conveniently sized at 24 inches (2ft) for DIY purposes. Once you have the width measurement, divide it by 24 and round up to determine the number of rolls required.
Next, measure the height of your wall to determine the appropriate length of wallpaper. Our wallpaper comes in lengths of 72 inches, 96 inches, and 120 inches, which are commonly used for drywall. Remember to round up when selecting the length, as it's easier to trim any excess. For taller walls, our patterns can be easily paneled together, so there's no need to worry.
Step 2: Preparing the Wall
Before you can get to the fun part with your Little Chickadee Wallpaper, there's a simple yet essential step to ensure proper adhesion. Take a clean microfiber towel and dampen it with water. Use it to wipe the wall clean, removing any cobwebs and dust. Allow the wall to dry completely before proceeding.
Step 3: Hanging the Wallpaper
Don't be scared, this is the fun part!
Begin by removing the first panel from the box. When ordering multiple rolls, they are rolled together for ease of installation. Peel back the first 4 or 5 inches of the backing paper, folding it firmly. Starting from the far left corner, align the wallpaper to the upper corner and the ceiling. It's recommended to have a friend assist you in ensuring it is straight. Once aligned, use the squeegee to smooth and adhere the first few inches. Continue by rolling down the backing paper and using the squeegee to adhere the wallpaper to the wall.
Moving on to panel number 2, take the next panel and once again roll back the top 4 to 5 inches of the wallpaper. Align the print to the previously installed panel and the ceiling, using the squeegee to apply it to the wall. Continue working down the wall, peeling off the backing paper and adhering with the squeegee. The overlap/seam method is recommended, overlapping the new panel on top of the previous one. This method aids in aligning the print and accommodates natural settling in your home. Keep in mind that most walls are not perfectly level, even in new constructions, so do not overthink the alignment. Remember that wallpaper is meant to be viewed from a few feet away.
Repeat this process until you reach the last panel. In most cases, you will need to cut this final panel. Use a measuring tape to measure the remaining space on the wall and cut the wallpaper in a straight line with scissors. It is best to slightly overmeasure to allow for adjustments, as excess material can be trimmed with the exacto knife. Avoid working in a tight space with excessive material.
Once the wall is completed, trim any excess material by using the squeegee as a straight edge. Cut along the edges with the exacto knife, peel off the excess material, and you're done.
